Tuesday, March 28, 2017

Pumpkin and Blue Cheese Pie, the Second

I've been wanting to revisit the idea of the pumpkin and blue cheese pie since the first time I made one. This time I changed the recipe a little, and used a rough puff pastry.

Half of the resulting pie
Pastry (rough puff)

  • 180g unsalted butter, cut into <1cm cubes and chilled in freezer but not frozen
  • 240g plain flour
  • pinch of salt
  • 1/4 cup water, chilled
Filling
  • Flesh of half a butternut pumpkin weighing about 1kg
  • 2 brown onions, chopped finely
  • 1 head of garlic, split into cloves and peeled
  • 100g blue cheese (Stilton in this case), crumbled
  • 50g parmesan, grated
  • 150g or so spinach leaves, chopped finely
Method
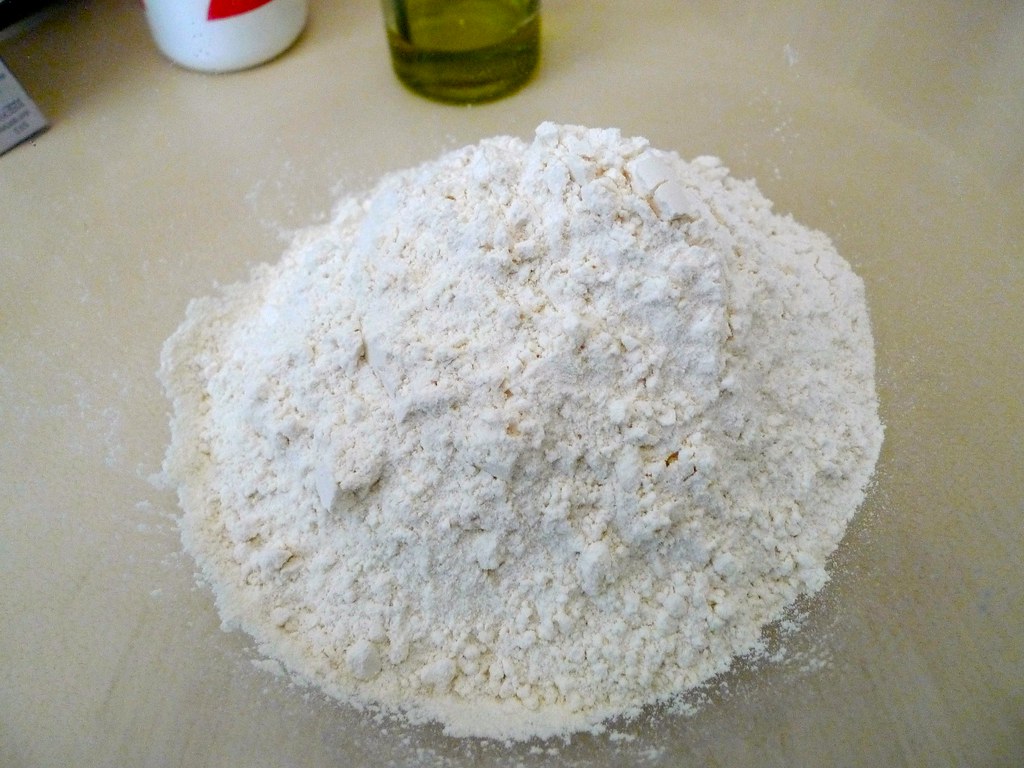
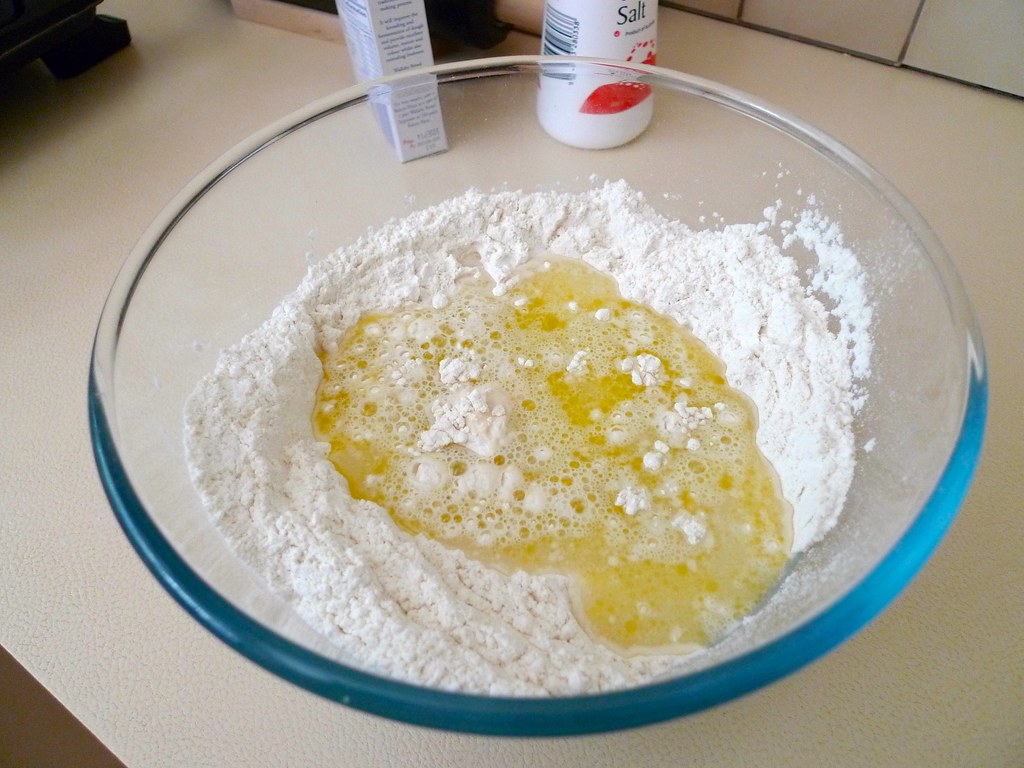
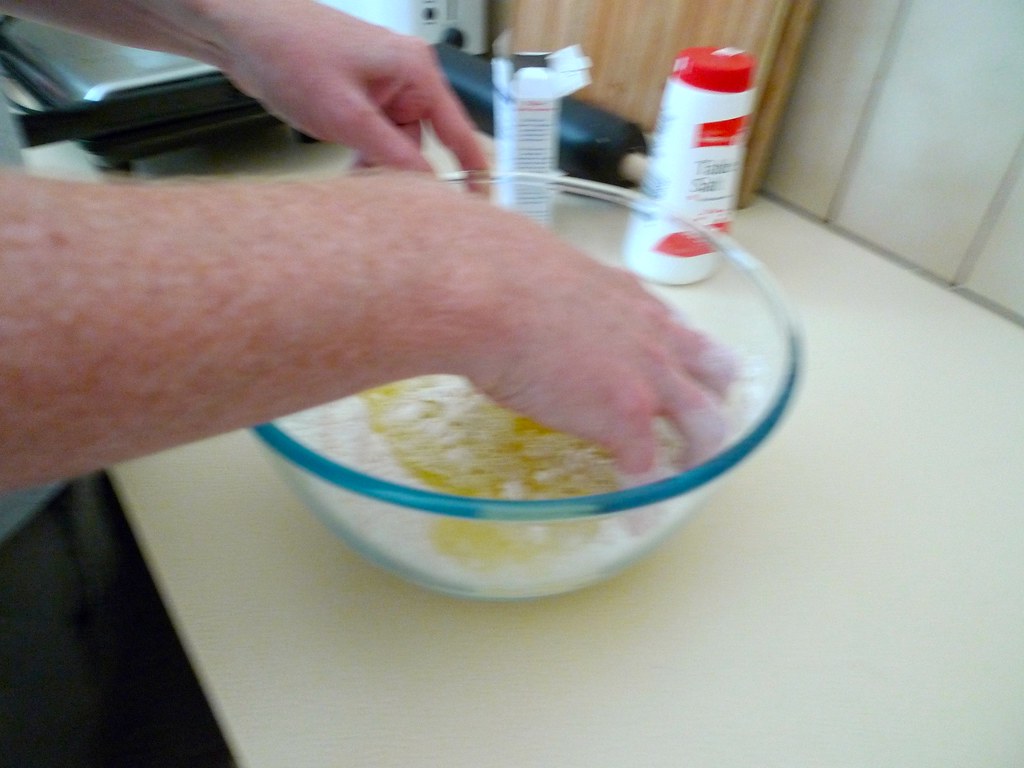
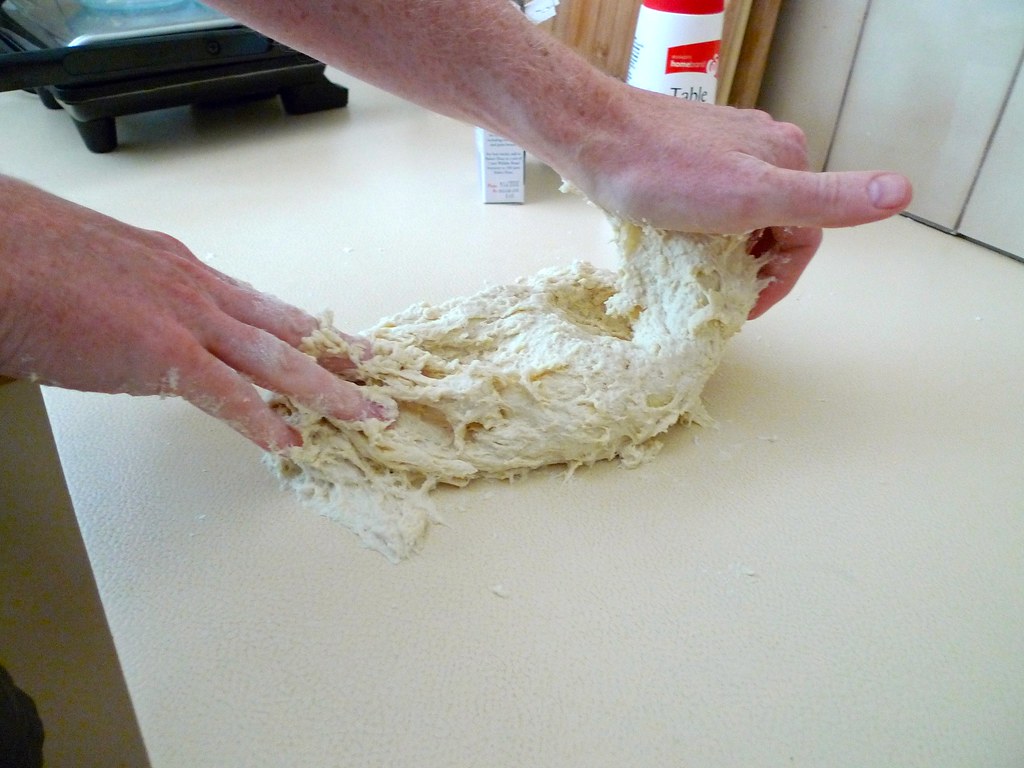
  • Make the pastry in advance: smoosh the butter into the flour with your fingers until all the pieces of butter are flattened. Then gradually mix the water into the flour with fingertips until the dough forms - don't add all the water if you don't need to. Now give it a gentle kneading before rolling out into about a 5x10cm piece. Fold it once into a square, cover in plastic wrap and refrigerate until well cooled. Over the next hours / days take the dough out, roll out until it can be folder in half (or thirds, or even quarters and halves, whatever you can to get lots of layers). If it's cool enough then do that again before returning to the plastic and the fridge. Fold at least 6-8 times - the more times the nicer the result will be. Because it's warm at the moment I did this over several days, getting a some folds in during the morning.
  • Chop the pumpkin into small pieces, no larger than about 2cm at most a side.
  • Roast pumpkin and garlic at 200ºC until both are nicely cooked (about 40 minutes). Give them a toss to mix up about half-way through.
  • Place pumpkin and garlic in a mixing bowl, mash both together a little to mix and leave to cool.
  • Fry the onion slowly for about 30 minutes (a fully hour if you want it fully caramelised) and then add to the bowl with the pumpkin and garlic.
  • Fry the spinach until wilted and add to the bowl also. Add in parmesan and some salt and pepper, and mix well. Finally add the crumbled blue cheese and mix through gently (I find it smooshes through if mixed too much and it's nice to have blobs).
  • Preheat your oven to 200ºC
  • Roll out the pastry until it's a good 50cm across. Try for a circle if you can, but if you can't then a square will also work. Place in the middle of a baking tray that's at least 30cm across. Put the pumpkin filling from the bowl in the middle of the pastry, evenly spread out to leave about 5cm or more at the edges. Fold the pastry in to the centre, crimping together so it holds while baking. Brush the top with a beaten egg if you like to have a nice brown glazed finish.
  • Bake for 20-25 minutes or until the pastry is nice and cooked.
All up, I preferred this mix of ingredients to the last. It does take a while to cook, but a bunch of that can be only minimally supervised.

Tuesday, March 14, 2017

Chicken, chorizo & potato pie

I wanted to make a pie with chorizo sausage in it, and try a new combination of ingredients, and this pie popped up in my searching. I made some modifications that I would come to regret. Because I was in low-effort mode I used shortcrust pastry which ended up horribly crumbly. Next time I'll use (rough) puff pastry that'll have more structural integrity and suit the pie better. It'll be worth putting in that extra effort of rolling and folding.

Also, no photo because I plumb forgot, sorry!

Pastry Which Did Not Work
  1. 2 cups plain flour
  2. 160g butter chopped into chunks
  3. 1 egg
Blend the flour and butter until the texture is like grainy sand. Then blend in the egg until the whole mixture clumps. In the future, I would also add some water to give the pastry some sticking power. The above mixture was far too crumbly, and I ended up having to knead it slightly to have it hold together at all when being rolled out. Even then it cracked far too easily.

Filling Which Did Work
  1. 400g potatoes, peeled and cut into 2cm pieces
  2. 2 chicken breasts, cut into 2cm pieces
  3. 1 chorizo sausage chopped into thin slices
  4. 1 leek thinly sliced
  5. thyme and rosemary
  6. optional whisked egg
Method
  1. Place the potato and water in a large heatproof microwave-safe bowl. Cover with plastic wrap. Cook in microwave on High/800watts/100% for 8 minutes or until just tender. Drain.
  2. Meanwhile, heat the oil in a non-stick frying pan over medium-high heat. Cook half the chicken, stirring, for 4-5 minutes or until light golden and almost cooked through. Transfer to a heatproof bowl. Repeat with the remaining chicken.
  3. Add chorizo to pan and cook, turning occasionally, for 3-4 minutes or until light golden. Add leek, thyme and rosemary and cook, stirring, for 2-3 minutes or until the leek is soft. Add the potato and cook, stirring, for 1 minute or until well combined. Transfer to the bowl with the chicken. Toss gently to combine. Set aside for 30 minutes to cool slightly.
  4. Preheat oven to 200°C. Line 1 large baking tray with non-stick baking paper or use a non-stick baking tray. Roll out half the pastry and place on the tray. Place half the chicken mixture in the centre of the pastry and shape to form a circle, leaving a 3cm border. Fold pastry edge over the filling to partially enclose, leaving the centre of the pie open. Repeat with remaining pastry and chicken mixture to make a second pie. Brush the pastry edges with egg if you like.
  5. Bake for 30-35 minutes or until the pastry is cooked through. Set aside on the tray for 5 minutes to cool slightly.
Even with the pastry disaster, it was very tasty :-)

Monday, January 23, 2017

Custard tarts, third edition

Time for some holiday baking. Abbey decided custard tarts were the go. Rather than repeat the previous cooked-in-oven custard, she wanted to try filling tarts with Creme Patisserie. So, making sure we grabbed some extra eggs at the shop, we started the creation as soon as we got home, borrowing from a few places to make the recipe below (as remembered / dictated by Abbey).

Pastry Ingredients

  1. 225g plain flour
  2. 125g butter
  3. 2 tbsp chilled water
Custard Ingredients
  1. 125g caster sugar
  2. 50g plain flour
  3. 3 egg yolks
  4. 1 whole egg
  5. 500ml milk
  6. 3 tsp vanilla essence (or a bean, we cheated)
Pastry Method
  1. Chop butter into little cubes and chill.
  2. Blend flour and chilled butter until the texture is grainy like sand.
  3. Slowly add water while blending.
  4. Continue to blend until lumpy.
  5. Wrap dough in glad wrap and chill in refrigerator for at least 30 minutes.
  6. Preheat oven to 200ºC (fan forced) [ed: this could be reduced to 180, I think]
  7. Prepare a 12 cupcake pan with strips of baking paper (large enough to pull the baked tart cases out).
  8. Roll the dough thin and cut circles large enough to fill the cupcake moulds. Combine leftovery bits if needed to make up 12 cases. It's hot here so we did this in two halves, putting the pan in the fridge in the middle.
  9. Chill the pan for about 20 minutes before baking.
  10. Stab the bottom of each tart case a couple of times with a fork.
  11. Cut out 12 squares of foil and place in the tart cases with baking beads in the foil.
  12. Bake for 10 minutes.
  13. Remove foil and beads.
  14. Bake for further 5-10 minutes [ed: this is where I discovered the oven might have been a bit hot since a full 10 minutes is ideal]
  15. Cool for a few minutes before extracting onto a cooling rack.
Custard Method
  1. Measure and combine dry ingredients in a large heatproof bowl.
  2. Whisk in eggs until thoroughly combined.
  3. Boil milk and vanilla on a medium to high heat on the stove, stirring constantly.
  4. Once milk is boiling, pour into the egg stuff [ed: Abbey's word] and whisk until combined.
  5. Quickly pour back into the same pan and stir over medium heat until thickened.
  6. Pour into a cool pouring jug and fill the cases with the yummy yummy custard goop!
  7. Cool and EAT

Sunday, June 22, 2014

Guest post: Elena's Extreme Olive, Sun-dried Tomato and Feta Bread

I think the secret to making really good food is taking things pretty far.

This was an experiment in that.

So I like olive a lot and also have strong positive feelings about cheeses of all sorts.

Everyone knows (cough) that these things should naturally go in bread. Though when I get olive bread from shops I often feel as if they go too easy on the olives. I decided to test the bounds.

Olives, Sun-dried Tomatoes and a hefty block of Feta:

OK, so this is the thing: this came to being a non-trivial amount
(in case that's not clear >850g/1.88lb, ie "testing bounds" volumes):


Oh bread, you looks so innocent.


... but not any more.
I didn't want the cheese to be pulverised so was quite careful with timing.


So ... Did I go too far?
Proobably depends on who you ask, but in my opinion: Goodness no!
Check it out, could even have gone further!

Structural integrity could have been slightly better, though trust that
it would have been if I had actually let it cool before I hoed in to it.
(Though hopefully you can understand I wanted to eat it while it was warm.)


... and ... it ... was ... amazing.

Kanga-bangers and whitebread indeed.

The end :)

---

nb. I apologise for the blurry photos, I do actually try to stay still, but still not enough. I'll persist!

Monday, March 10, 2014

Orange and White Chocolate Buns, Version 2

I got a new zest grater so decided to give the Orange and White Chocolate buns a second try. The new grater produced about 4 times the zest:

I modified the recipe to use the enriched dough from the cinnamon buns so I could use the mixer to knead it all. Also there's none of that milk scalding malarky.


I mixed up the dry ingredients and then added all the wet ingredients in one go, had the machine knead it for about 10 minutes and then added half the white chocolate and peel mix for a final 1 minute knead:


I let that prove for a couple of hours (it really does need a while) until it was double in size (sorry, no photo) then knocked it back and put it on a floured bench:


Rolled out until it was about ½ cm thick:


Sprinkled the remaining white chocolate and peel over the top and rolled:


Nicely rolled up. It'll inevitably be a little fatter in the middle. I just gave it a gentle squeeze to even it out a bit.


Sliced up into 1-2cm thick pieces and placed into tins. These are then covered in plastic and put in the fridge for later baking


Baked for 20 minutes at 190°C and they're very yummy indeed!


Ingredients
  • 3 teaspoons dry yeast 
  • 1 cup warm milk 
  • ½ cup sugar 
  • 115g melted butter 
  • 1 teaspoon salt 
  • 2 eggs 
  • 4 cups plain flour
  • ¾ tsp ground cardamom
  • 3 oranges, zest only
  • 200g white chocolate chips
  • 100g candied mixed peel
Method
  1. Mix all ingredients (but only half of the white chocolate and peel amounts) until a stretchy, sticky, smooth ball forms. I used a mixer with a dough hook, since the dough is quite sticky. It would be possible to do by hand, but I wouldn't recommend it. If you do need to then you can coat your hands and the bench with a spray of oil to prevent the dough sticking too much.
  2. Leave in a warm place until doubled in size. Since this is an enriched (with milk, butter and egg) dough it can take quite a while to prove - even a couple of hours).
  3. Punch and roll into a rectangle (golden ratio, please) until approximately ½ cm thick
  4. Spread remaining white chocolate and peel over the dough.
  5. Roll up lengthwise. Cut into pieces about 2-3cm wide.
  6. Place scrolls with a good separation (1-2cm) on a greased biscuit tray, or cake tins - any shape will do. At this point you have a few choices:
    1. cover lightly with a towel and leave to rise for about an hour, or until the scrolls are just about to touch, or
    2. cover with plastic and refrigerate up to two days for later baking, or
    3. keep longer if frozen (about a month, apparently) and thaw in the fridge overnight before baking.
  7. If you do refrigerate the scrolls then remove them from the fridge about 30 minutes before baking - while the oven is preheating.
  8. Heat oven to 190°C and bake for 10-15 minutes until brown around the edges.
So there we go - a much simpler enriched dough recipe and a better grater for the zesting resulting in a whole lot of yummy rolls!

Sunday, March 2, 2014

Cinnamon Swirl Loaf

I decided to make pies for dinner last night and while we were at the shop we saw raisin bread on sale - and obvious cue for me to make some myself at home. I ended up not having raisins in the pantry so I just adapted the cinnamon scroll recipe into loaf form (by not cutting it up) and it ... mostly worked. There's a few notes:
  1. the loaf was too large for my loaf tin - I need to lose at least ½ cup of flour, probably more
  2. I shouldn't have included the butter in the cinnamon sugar mix
  3. leaving the loaf in the fridge overnight to bake next morning worked well, though I wrapped it in cling wrap and the loaf burst out of that in a couple of places
  4. we accidentally used 3½ tablespoons of cinnamon instead of 2½ and that was too much - there's a kinda gritty feel to the swirl (perhaps some cinnamon could be mixed into the dough instead if extra is desired)
  5. I should have buttered the baking tin as the sugar in the dough stuck to the tin in places
Other than that, it's a pretty tasty loaf. The butter in the swirls makes the loaf pull apart too easily though, so I can't toast it and butter it, which means it's a little dry to eat.

I'll give the cinnamon loaf another try with the above in mind. Maybe next weekend :)

Also, the pies were quite tasty (lamb, rosemary and vegetable) but there wasn't nearly enough gravy - something to watch out for next time.

Sunday, February 16, 2014

Cinnamon Scrolls

There are (possibly quite literally) thousands of recipes out there, and a lot of them get overly complex or ... well, some of them get a little bizarre and almost mystical. These aren't magic, they're pretty easy to make and are just so delicious (even a friend who doesn't normally like cinnamon things loved these). So here's the straight-forward recipe from Best Recipes.

Ingredients
Dough
  • 3 teaspoons dry yeast 
  • 1 cup warm milk 
  • ½ cup sugar 
  • 115g melted butter 
  • 1 teaspoon salt 
  • 2 eggs 
  • 4 cups plain flour 
Filling
  • 1 cup brown sugar 
  • 2½ tablespoons cinnamon 
  • ⅓ cup softened butter or margarine 
Icing
  • 8 tablespoons softened butter or margarine 
  • 1½ cups icing sugar 
  • ½ cup cream cheese 
  • ½ teaspoon vanilla
Method
  1. Dough: Mix all ingredients until a stretchy, sticky, smooth ball forms. I used a mixer with a dough hook, since the dough is quite sticky. It would be possible to do by hand, but I wouldn't recommend it. If you do need to then you can coat your hands and the bench with a spray of oil to prevent the dough sticking too much.
  2. Leave in a warm place until doubled in size. Since this is an enriched (with milk, butter and egg) dough it can take quite a while to prove - even a couple of hours).
  3. Punch and roll into a rectangle (golden ratio, please) until approximately ½ cm thick
  4. Filling: Beat butter until creamy, add brown sugar and cinnamon and mix until smooth. Spread over the dough.
  5. Roll up lengthwise. Cut into pieces about 2-3cm wide.
  6. Place scrolls with a good separation (1-2cm) on a greased biscuit tray, or a cake tin(s) - any shape will do. At this point you have a few choices:
    1. cover lightly with a towel and leave to rise for about an hour, or until the scrolls are just about to touch, or
    2. cover with plastic and refrigerate up to two days for later baking, or
    3. keep longer if frozen (about a month, apparently) and thaw in the fridge overnight before baking.
    If you do refrigerate the scrolls then remove them from the fridge about 30 minutes before baking - while the oven is preheating.
  7. Heat oven to 190°C and bake for 10-15 minutes until brown around the edges.
  8. Icing: While scrolls are baking, beat the icing ingredients together and spread generously over each roll while still hot.
I apologise for the lack of photos! I'll have to make them again and force myself to not eat them all up before taking a photo :)

As I said, a lot of recipes get very complex requiring you to scald the milk, or dance counter-clockwise around your bench while it's mixing (sorry if you don't have an island kitchen bench!) but it's really not necessary. The above recipe makes deliciously light, fluffy and tasty scrolls without all that malarky.

The really nice part about this recipe is that you can chill portions and consume them over time. I made 15 scrolls and then some from the recipe; I made the dough and scrolls on Saturday evening and then Abbey and I had 4 smallish end bits (sans frosting) for breakfast on Sunday morning, 9 scrolls on Sunday afternoon with friends and the remaining 6 today for morning tea with co-workers. All baked withing minutes of consumption, which made them very yummy indeed :)

Wednesday, February 5, 2014

Guest post: Elena's Bread With Stuff

My friend Elena got a bread maker from her Dad for Xmas and the following is her recounting of the second loaf of bread that she's made with it.

The first one was just one of the packet mix from the supermarket, and while it was OK, I thought that next time it was absolutely necessary to put "stuff" with it. That next time has now arrived.

I used some random wholemeal prepackaged bread mix from the supermarket.

To this I added:

Fennel

I was wary of adding this at all because I ate one of the seed and it was like "BOOM! flavor essplodey bang!!". I put in a miniscule amount but should have put less. Honestly, even if you like the aniseedy flavour of fennel go lightly. I put about .. maybe 30 seeds, but seriously about 5 or 6 of those tiny seeds will add plenty of taste

Cumin

It's hard to lose here, depending on whether you like that Indian-curry flavour of the Cumin. I put in maybe 2 teaspoons. This was a good amount and the bread was nicely but not overly flavoured. I could have gone harder, but the flavour was still full.

Mustard Seeds

Some. About 1 teaspoon Can't remember having heard of them being in bread before. Couldn't discern them in baked bread at all. This is not over between me and mustard seeds.

Thyme

Some. About 1 teaspoon of dried Thyme. The aroma, but no the flavour of the thyme came through as it was baking and when it came out, but during the eating the thyme is barely perceptible, and insofar as it is perceptible it adds a lovely soft perfumey flavor.

Rolled Oats

Generous Handful. About half of a cup. Should have gone harder! I like oats but can not discern them in the finished bread at all!

LSA Mix

Some. About 3 generous tablespoons This stands for "Linseed, Sunflower, Almond" meal/mix. This may not be easy to come by (but is more and more so these days), but is basically hippy/old-people wholegrain additive. One time I gained a taste for it on porridge, as well as just liking it in theory, so have a packet of it around for this purpose that I have very little chance of getting through in a timely manner.

Extra water

The bread recipe suggests 450mL, I added about another splash 30-40mL when I dumped all the other stuff in. The sum total of water would have been less than half litre. It seemed wetter than it should be, but I stood by my decision.

I set it to the "wholemeal" setting (#5) on the bread machine and waited 3-odd hours.

The Results

The results were great!! Better than I expected.

The unexpected result was that the bread was springy. My first loaf was nice and bready and normal but definitely firm.

This loaf is distinctly more elastic.

Summary

Too Strong:

  • Fennel

Just Right:

  • Cumin
  • Extra water

Could have been Bit More:

  • Thyme (I'd have put Rosemary in if I'd had some!)

Couldn't even tell it was there:

  • Oats
  • LSA Mix
  • Mustard Seed

I made up mezzo platters with hommus, guacamole, tepanade, avocado, some leftover curry, pepperoni and a dash of balsamic and it (OMGZ!1) totally hit the warm Sunday arvo snack/deliciousness spot.

While not usually a big consumer of bread but seeing as yesterday I ran 10k and kited for an hour and a half (and will probably kite some more today!) I treated myself to a couple of hefty slices :)

The review from the peanut gallery was it was still quite "plain" and normal. I take this as a challenge and there will nearly certainly be adventurousness in the future. I am digging the spice and seed thing though have ambitious ideas regarding cheeses, vegetables and pickled foods, as my breadmaking confidence increases. I have bought a giant bag of flour in anticipation.

Thanks, Elena. I can't wait to see what other creations you devise!

Sunday, February 2, 2014

Basic White Bread

The following is the recipe I use on a weekly basis to make the loaf of bread for the week. Sometimes I substitute one or two cups of the flour with wholemeal flour. It usually comes out nice and soft, and always yummy.

Ingredients3⅓ cups flour
2 tsp yeast
2 tsp bread improver (a soy flour blend)
10g salt
2 tbps olive oil
1½ cups water

Mix the dry ingredients together in the bowl.

Make a well and pour in the oil and water.

Mix with fingertips until combined.

Take combined dough out and start kneading on a bench
(it will be sticky to start off with but should get less sticky as it
combines properly - if it does not just add some more flour).

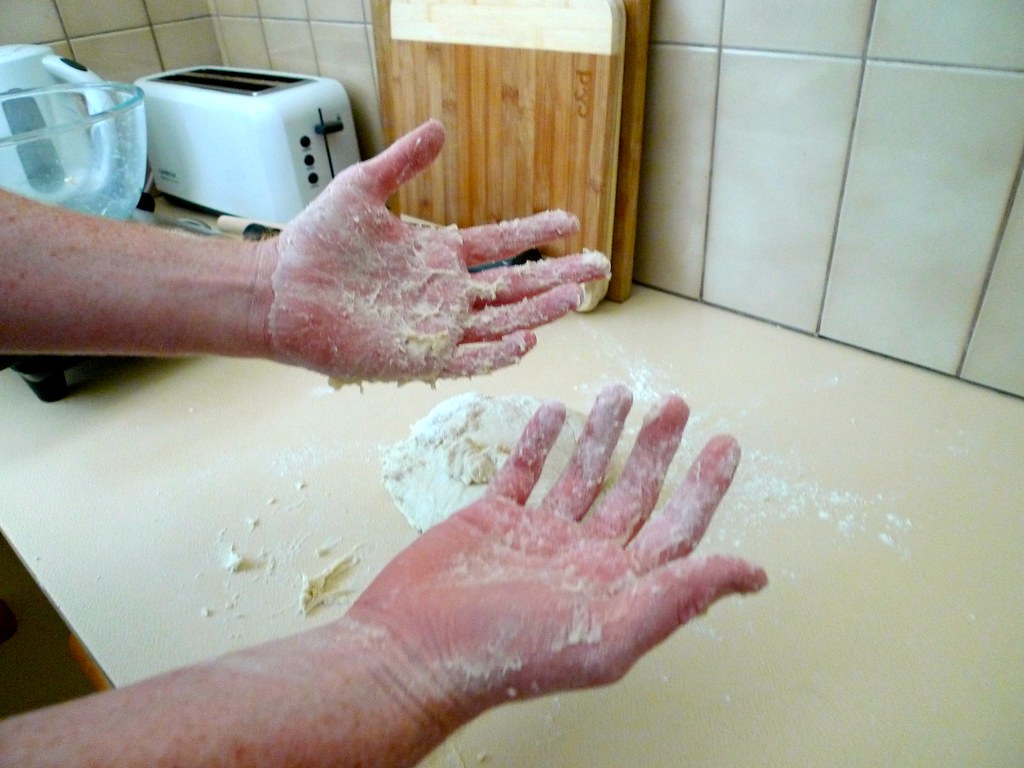
If your hands look like this then it's probably too sticky
(unless you're making a sticky dough like foccacia or brioche).
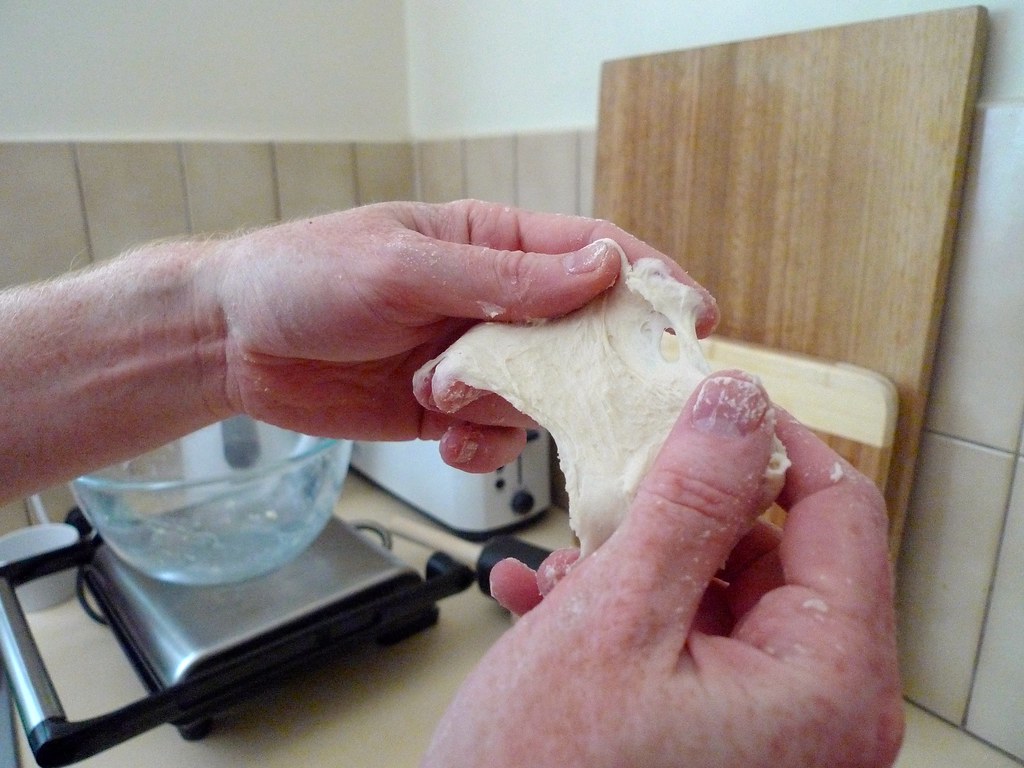
Keep kneading until the dough is nice and stretchy.
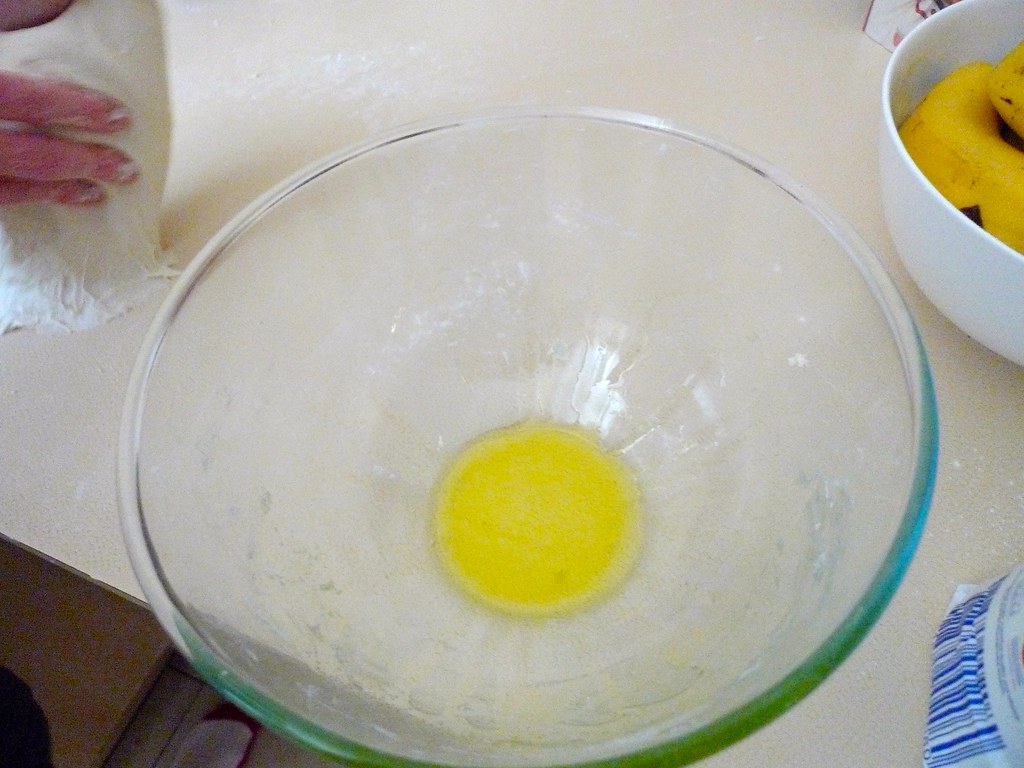
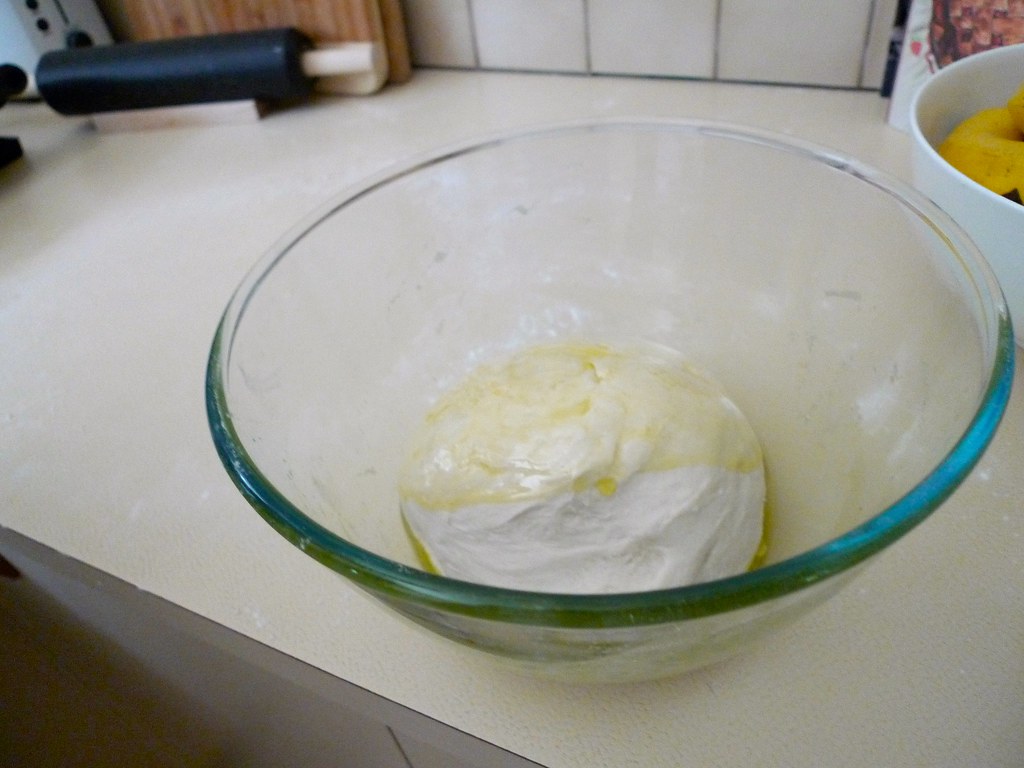
Pour some oil into the mixing bowl.
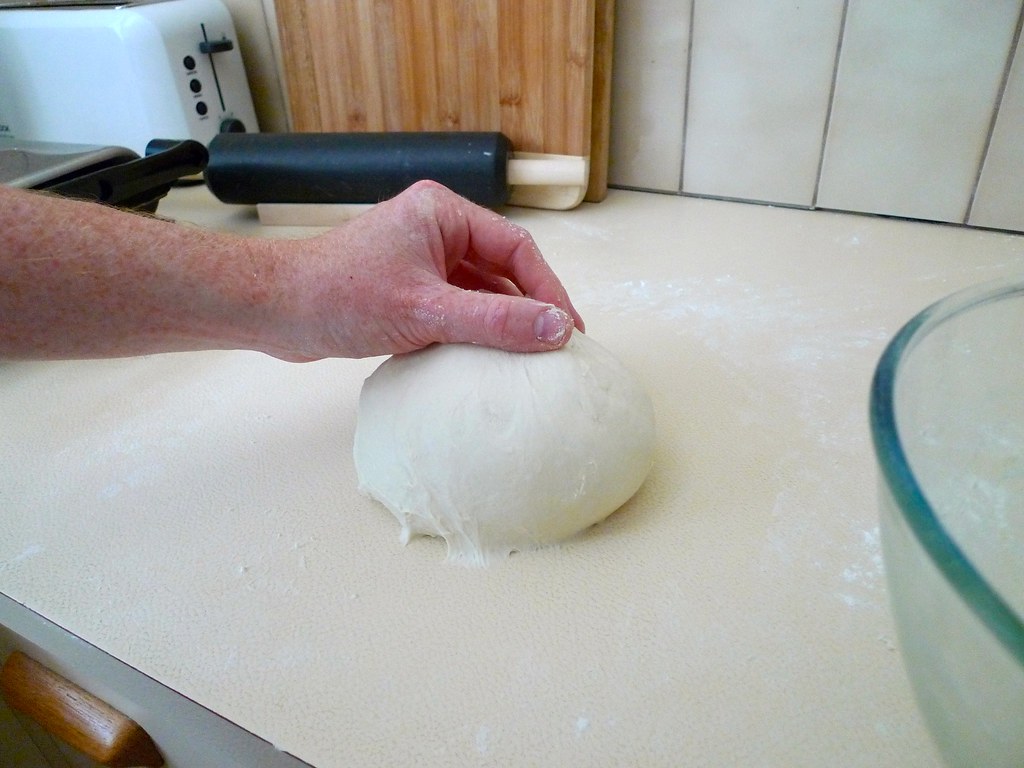
Form the dough into a ball
(grab the underneath and pull it over the top while turning).

Use the ball to spread the oil around the bowl and
then flip it over into the bowl so the oily side is up.
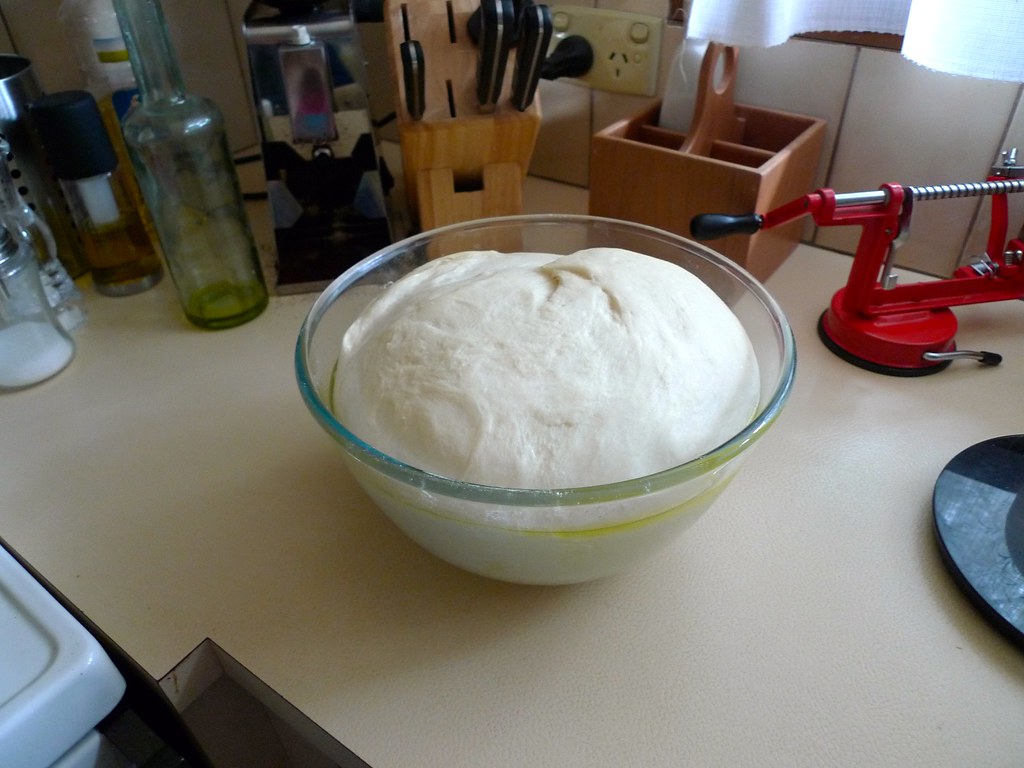
Leave to rest in a warm place until it doubles in size
(about an hour).

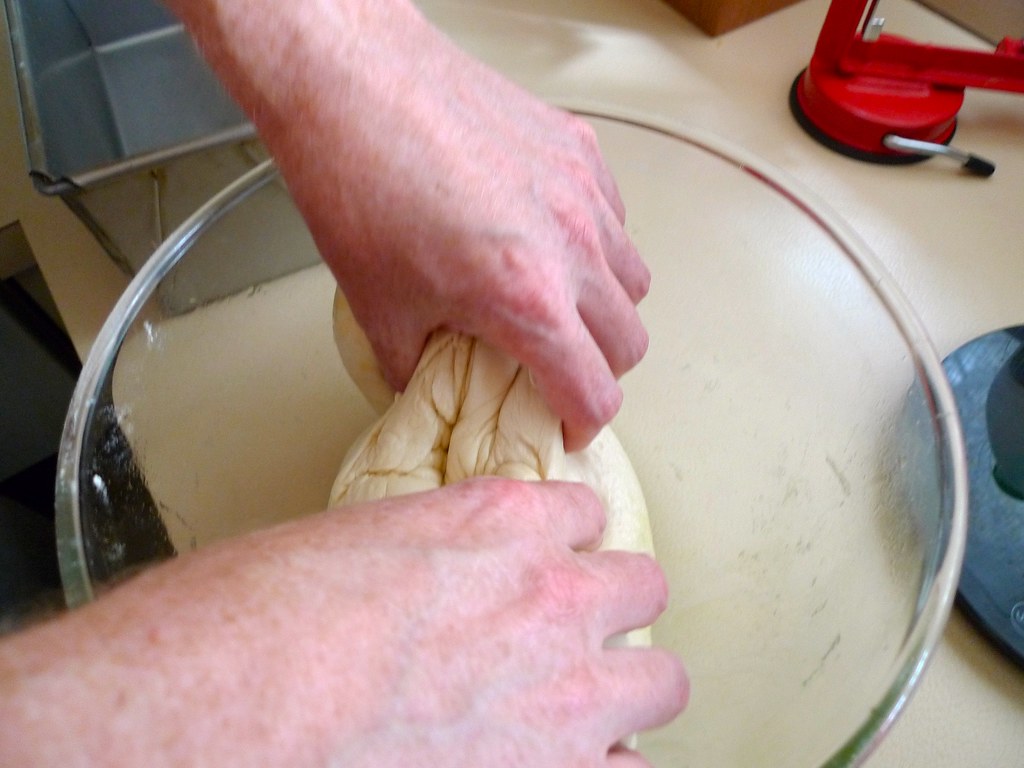
Poof! Now punch it gently to knock the air out of it.
Grab two sides to make a log and...
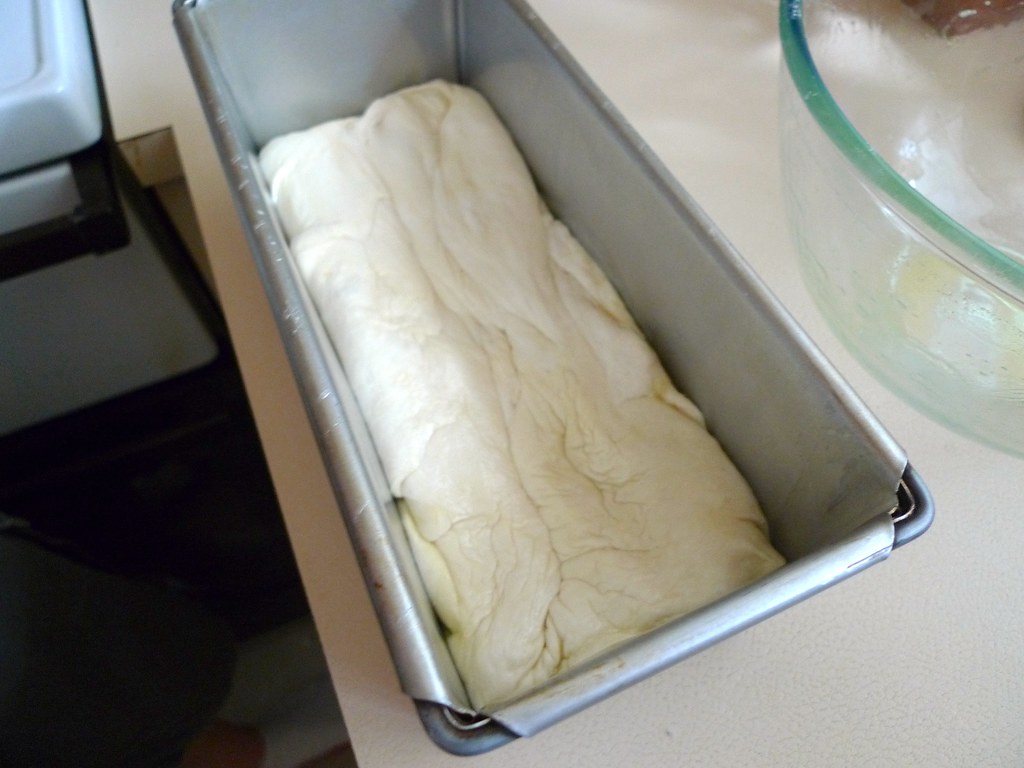
... place in the tin, squishing it down flat.
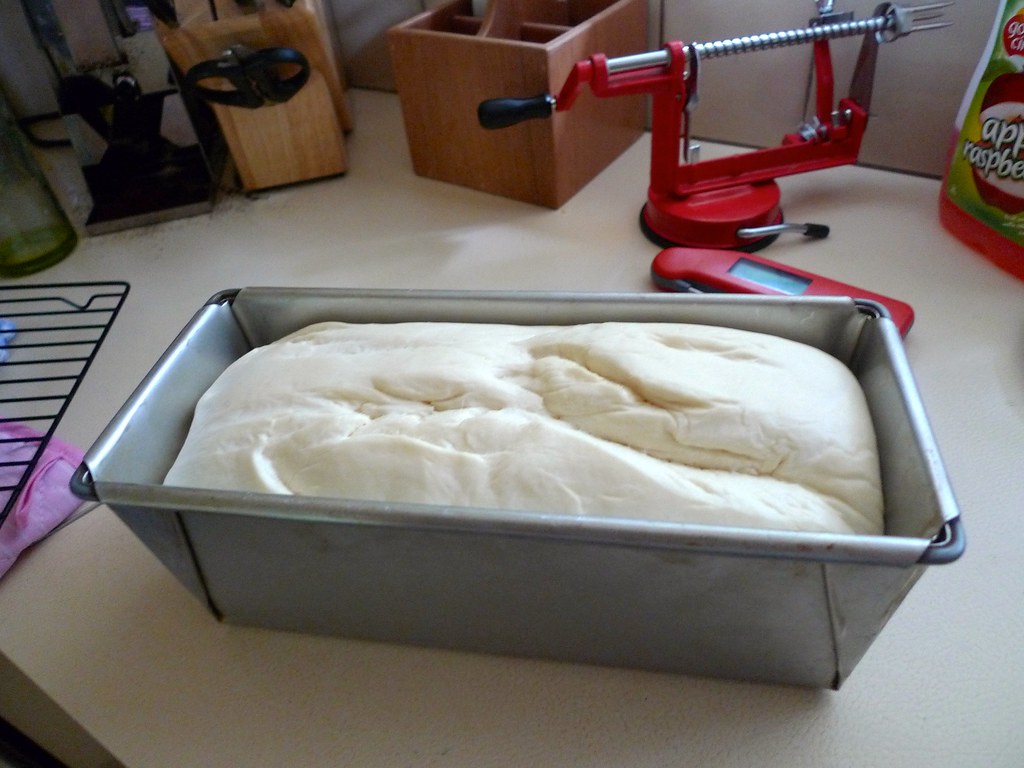
Leave to rise in the tin (about 45 minutes).
Preheat your oven to 200ºC about 30 minutes in.
Don't let it rise above the top of the tin unless you
want a very tall loaf.
If it does rise too far just slash it across the top diagonally
(very quickly with a very sharp knife).
Bake for 50 minutes at 200ºC until good and brown.
The bottom of the loaf should sound hollow (and not too dull) when tapped.
(the light makes it look lighter than it was, especially the next shot)
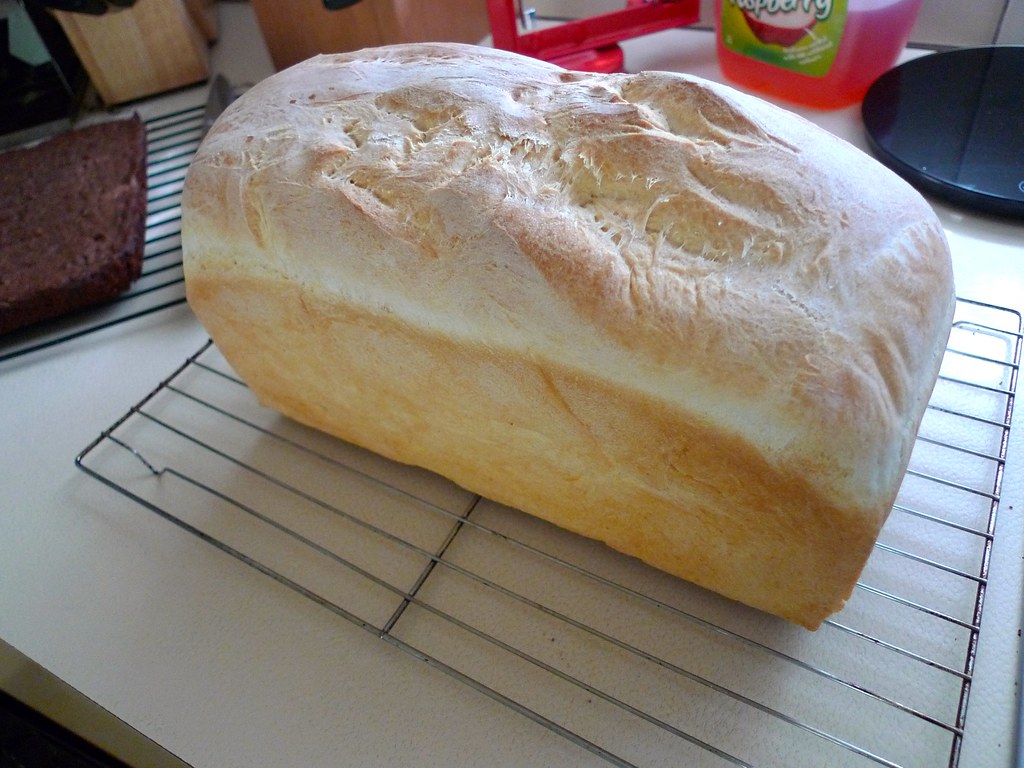
The finished loaf!
Cool on a wire rack.
I store my loaves at room temperature in a plastic container.

Sunday, January 12, 2014

Orange and White Chocolate Buns

Welcome to the new year, the Year of Bread!

I should point out that I've been baking bread (for sandwiches) pretty routinely for a couple of years now. I started thanks to the Great British Bake-Off season 1 which I saw some time after it actually aired (since I don't live in the UK). I've played around with a few sweet breads and not much else. I'm going to take the inspiration from last year to try out a bunch of new things this year in bread land.

Not overly pretty but I'll be working on that!
The first recipe for this year is from the Bake Off, season 4, by Ruby Tandoh, adapted from her recipe posted on the BBC website. The main deviation from her recipe is adapting it to 12 buns instead of one ornate loaf. Other changes are noted in the method.

Ingredients
  • 350ml milk
  • 60g caster sugar
  • 2 tsp instant yeast
  • 2 tsp salt
  • 700g plain flour
  • ¾ tsp ground cardamom
  • 1 large egg
  • 85g unsalted butter, softened
  • 3 oranges, zest only
  • 200g white chocolate chips
  • 100g candied mixed peel
Method
  1. Bring the milk to the boil in a saucepan and then remove from the heat and leave to cool. Top up with water to make 400ml total of liquid – the mixture should be lukewarm.
  2. Add the sugar, yeast, salt, flour and ground cardamom to a large bowl and mix.
  3. The dough will be very sticky - have a plastic bowl/bench scraper handy. Mix in the lukewarm milk and water mixture, egg, softened butter and orange zest. Combine using your hands. Ruby's instructions had only ¾ of the liquid added initially, then more added afterwards as needed. I found the dough needed all the liquid and also adding it afterwards was quite difficult and annoying. Next time I'll just add it all in one go.
  4. Knead the dough until it's smooth, elastic and no longer sticky (yes, it should stop being really sticky after a couple of minutes). Knead in half of the chocolate chips and half of the candied peel. Shape into a ball, place in a large oiled bowl, cover and leave for 1-1½ hours, or until doubled in size.
  5. Knock the air out of the dough. At this point Ruby gets very fancy with her peacock loaf - check the original recipe if you'd like to do that. For 12 buns split the dough into 12 even portions. Form each one into a little ball. Squish each ball flat, add a bunch of the remaining chocolate and peel on top and push it in a little. Roll the dough over to seal it and then roll out until it's about 15-20cm long. Loop the dough around one end in a spiral fashion and tuck the loose end under the middle. Place onto a baking tray lined with baking paper.
  6. Cover the buns with a dry towel and let rise for 45 minutes. Preheat the oven to 190ºC before the rising is complete.
  7. Brush with an egg or milk wash if you like - the sugar in the dough will cause the buns to brown up nicely regardless. I used an egg white wash but I think I'll skip it next time.
  8. Bake for 20 minutes.
These are very, very yummy. Not too sweet and just the right amount of flavour.

Monday, December 30, 2013

Tamale Pie

For the last pie of the year I decided to do something very different, a Tamale pie (think taco filling with corn muffin on top). I stumbled on a recipe over here and thought it looked yummy. Corn muffin mixes are rare in Australia, so I had to follow another recipe to make those. It was tough enough just finding the cornmeal (hint: look for polenta and read the ingredients carefully to make sure it's actually corn meal)!

Ingredients
Filling

  • 500g minced beef
  • 1 brown onion
  • 1 small can corn kernels
  • 1 can kidney beans
  • 1 can crushed tomato
  • 1 grated carrot
  • 3 small brown onions*
  • 1 packet of Taco seasoning
Muffin Topping

  • 1 cup cornmeal
  • 1 cup plain flour
  • ⅓ cup white sugar
  • 2 teaspoons baking powder
  • ½ teaspoon salt
  • 1 egg, beaten
  • ¼ cup oil (original recipe says canola but I used olive)
  • 1 cup milk

Method
  • Preheat the oven to 200ºC.
  • Make the filling by frying the onion until soft, adding the mince and frying until brown, adding the seasoning and stirring until mixed and then adding everything else. Leave it simmer while you get on with making the muffin mix.
  • Make the muffin mix by stirring together all the dry ingredients in a bowl and the mixing in the wet stuff gently until you've got a lovely yellow consistent gloop.
  • Add some leftover cornmeal to the filling if it's a bit wet until it's nice and thick.
  • If you've not used an oven-safe frying pan you should now transfer the filling to a pie dish. Top the filling with globs of the muffin mix in a pleasing pattern. It will spread a little.
  • Bake for 20 minutes or until the muffin topping is cooked.
I thought this was quite nice but the muffin top was too sweet. It was so sweet my daughter was turned off it. I reckon my American readers would probably find it palatable (based on my experience with corn muffins over there) but I think next time I'll halve the sugar.

* at this point I was just throwing stuff in I had in the fridge to make it a semi-balanced meal :)

Sunday, December 29, 2013

Chicken Pie

Tonight's pie - the second last of the pies in this Year Of Pie - was a yummy chicken pie. With bacon, mushroom and Pinot Grigio. I made it up as I was going along, and the wine I was drinking as I was cooking it was tasty, so I chucked some in. Yum.

The base was shortcrust and the top a rough puff. Along with the other ingredients already mentioned, I threw in an onion, a chicken stock cube and a light sprinkling of salt, pepper and rosemary. It all came together rather nicely.

Ingredients

  • 650g chicken thighs, cubed
  • 4 short rashers bacon, chopped up
  • 1 brown onion
  • 6 small brown mushrooms
  • 1 generous splash (a sploosh?) white wine (whatever is on hand that you quite like, or just use water if you don't want to use wine)
  • 1 chicken stock cube
  • a dash of rosemary
  • salt, pepper to taste
  • some plain flour to make the gravy
  • 250g butter and 550g flour to make the pastries
Method
  1. Prepare the pastries beforehand so they can chill. Remember that the rough puff needs to be folded and chilled several times so plan ahead a few hours. This is a good pastry to make during the day on a weekend spent at home since each fold and chill takes only a few minutes.
  2. Blind bake the case. This takes about 30-40 minutes so while it's going you can prepare the filling.
  3. Fry up all the filling bits however you'd normally do it. You might also like to add some cream (about 1/3 cup I suppose) but I'm happy with how it came out without that. Just before you use the filling you should thicken it up with some flour. Just sprinkle some on, stir and repeat until the gravy is thick enough.
  4. Fill the pie and top with the rough puff and bake for 40 minutes. Add an egg wash if you can be bothered. As you can see from the photos I didn't.
What I like about this pie is that I'm quite comfortable making it (or something like it - whatever filling) as just a thing we can have on a weekend. Thanks to this Year of Pie I find it quite easy to make the pastry and do all the construction. What a wonderful thing!

Wednesday, December 25, 2013

Bakewell Tartlets

Given this is a Great British Bake-Off inspired Year Of Pie I figured it would be wrong to go the entire year without baking a Bakewell Tart. I've even used one of the contestant's recipes as a reference. I didn't follow it exactly for various reasons.

Ingredients
For the pastry
  • 100g butter, chilled and cubed
  • 200g plain flour, sifted
  • 40g icing sugar, sifted
  • 3 tbsp chilled water
For the frangipane
  • 110g butter, softened
  • 110g caster sugar
  • 2 eggs, beaten
  • 80g ground almonds
  • 2 tbsp plain flour
Also
I was just chuffed to bits with how these
came out. Look at that pastry! Just look at it!
  • Some raspberry jam (at least a few tablespoons worth)
Method
  1. Put the flour and sugar into a blender. Blend in the chilled butter until it resembles coarse breadcrumbs. Add the water 1tbsp at a time while still blending. Continue to blend until the dough starts to ball up. Turn out onto some plastic wrap, squish into a thick disk, cover fully and refrigerate for an hour before use.
  2. Place little tart-removal paper strips in the cups of a 12-cup cupcake tin (see previously). Unwrap the pastry, place a large sheet of greaseproof paper on top and roll out the pastry to a thickness of 1mm. Cut out 9-10cm rounds from the pastry (a good centimeter larger than the cupcake cup) and gently push into the cupcake tin. Chill for 15 minutes.
  3. Preheat the oven to 170°C.
  4. For the frangipane, place the ingredients in a bowl and beat with an electric mixer until smooth and thoroughly combined.
  5. An action shot! You don't get many of those
    on this blog, but they were just so PUFFY!
  6. Prick the bases of the pastry cases then place (a generous) half a teaspoon of the jam in each. Zap the jam in the microwave for 10 seconds to soften it up a little if it's too hard to work with. Top with the frangipane mixture. I used a piping bag to get the frangipane in nice and evenly. Bake in the oven for about 30-40 minutes until the frangipane is risen and golden. Cool in the tin for a few minutes then transfer to a wire rack.
      The original recipe included making the jam, which I just wasn't up to doing on Christmas Eve.

      It also included half the frangipane I've included above. I ended up tripling the amount, but that was a little too much - as you can see above they're really slightly too ... generously tall. Doubled would be fine, so that's what I've included in the ingredients list.

      The original recipe had the baking time at 25 minutes which was way too short - my tartlets needed 40 minutes. You could use any jam you like in the base.

      So yummy!

      Sunday, December 22, 2013

      Custard Tarts Revisited

      The first batch. At least I remembered to sprinkle the nutmeg
      on this lot.
      My daughter requested custard tarts to celebrate the end of the school year. Oh, OK, twist my arm :) I varied the recipe from last time by making a chocolate crust instead of the plain (though sweet) one. I actually made two batches, refining the recipe the second time. The first effort used muffin tins (making 12 tarts) which meant lower sides on the tarts (my largest pastry cutter is 9.5cm) resulting in less custard. I also had less cocoa in the pastry which was also rolled out much thicker (about 2-3mm) so while they were OK, I figured I could do better.

      The next effort made 16 tarts in a couple of cupcake tins, though I could probably have gotten 18 out of the dough if it hadn't been so warm in the kitchen (the dough got way too squishy to work with).

      Always position the slightly munty ones out the back there.
      Ingredients

      • 200g flour
      • 40g cocoa
      • 50g icing sugar
      • 160g chilled, cubed butter
      • pinch of salt
      • 4 tbsp chilled water
      • 3 eggs, beaten
      • 1 1/4 cups slightly warmed milk
      • 1/4 cup caster sugar
      • 3 tsp vanilla
      • nutmeg to sprinkle
      Method
      Just after baking - note the bits of paper in the
      older, less non-stick tin.
      1. Put the flour, cocoa, sugar and salt into a blender. Blend in the chilled butter until it resembles coarse breadcrumbs. Add the water 1tbsp at a time while still blending. Continue to blend until the dough starts to ball up. Turn out onto some plastic wrap, squish into a thick disk, cover fully and refrigerate for an hour before use.
      2. Roll the pastry out until quite thin - about 1mm or so. Use some flour (sparingly) to stop it sticking. Cut circles that are about 1cm larger than the cupcake cup top. Cut out lengths of 1cm wide baking paper that fit in the tray holes with bits poking up - these will be handles to help pull the tarts out if they stick (which can happen with sloshed custard). Carefully poke the circles into the holes, being sure to not create a fold. Press into the corners. If you need to press the pastry around a bunch then it's a good idea to use a cast off piece of dough rolled into a ball to push the pastry around with. This will prevent you warming up the case pastry too much when fiddling with it, or poking holes with your finger tips. Cover with plastic wrap and chill for about 20 minutes.
      3. Preheat the oven to 200°C. Jab the case bases with a fork a couple of times, cover with a little bit of foil (carefully - I find it's easy to accidentally push the pastry sides down) and some baking weights. Bake for 10 minutes and then remove the foil to bake a further 10 minutes (after starting the second bake, prepare step 4). If your oven is as uneven as mine that's a good opportunity to turn the tray around to even out the bake a little. It can be tricky to tell if the pastry is done because it's so dark, but that cooking time should be about right.
      4. Reduce oven to 180°C. Mix the slightly warmed milk, caster sugar, vanilla and eggs. Skim off any bubbles and floating egg white chunks. Once the pastry comes out of the blind baking, carefully pour the custard into the cases up to the rim. Sprinkle with the nutmeg.
      5. Bake for 20 minutes or until the custard doesn't wobble too alarmingly. Cool the tarts in the tin for about 5 minutes and then cool on a wire rack.
      Next time I'll tweak the recipe by adding just a little more sugar to the crust. Maybe another 20-30 grams. I seem to recall reading somewhere that a 1:2 ratio of cocoa to sugar is good to aim for, but I might be making that up.