There are (possibly quite literally) thousands of recipes out there, and a lot of them get overly complex or ... well, some of them get a little bizarre and almost mystical. These aren't magic, they're pretty easy to make and are just so delicious (even a friend who doesn't normally like cinnamon things loved these). So here's the straight-forward recipe from Best Recipes.
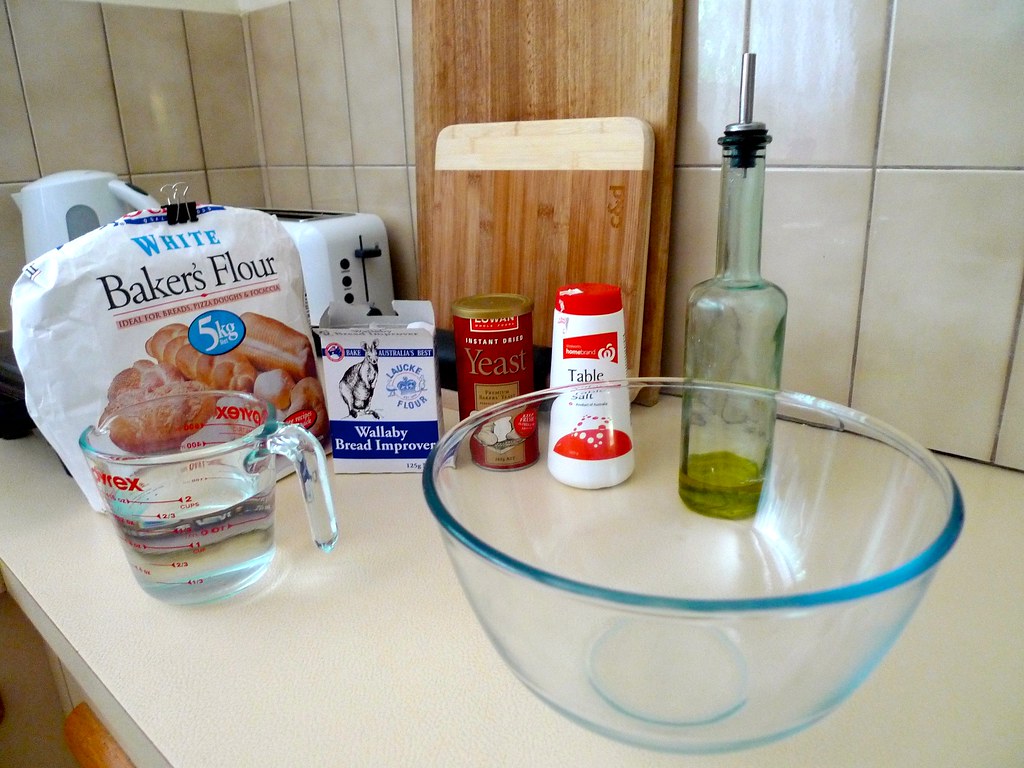
Ingredients
Dough
Ingredients
Dough
- 3 teaspoons dry yeast
- 1 cup warm milk
- ½ cup sugar
- 115g melted butter
- 1 teaspoon salt
- 2 eggs
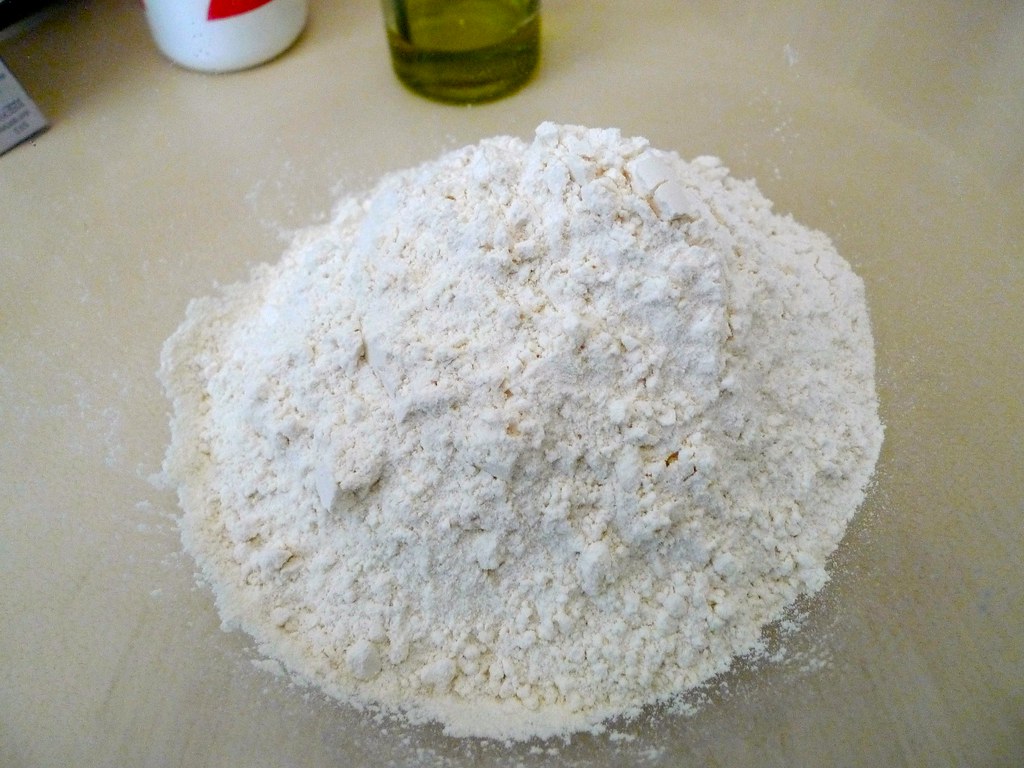
- 4 cups plain flour
- 1 cup brown sugar
- 2½ tablespoons cinnamon
- ⅓ cup softened butter or margarine
- 8 tablespoons softened butter or margarine
- 1½ cups icing sugar
- ½ cup cream cheese
- ½ teaspoon vanilla
Method
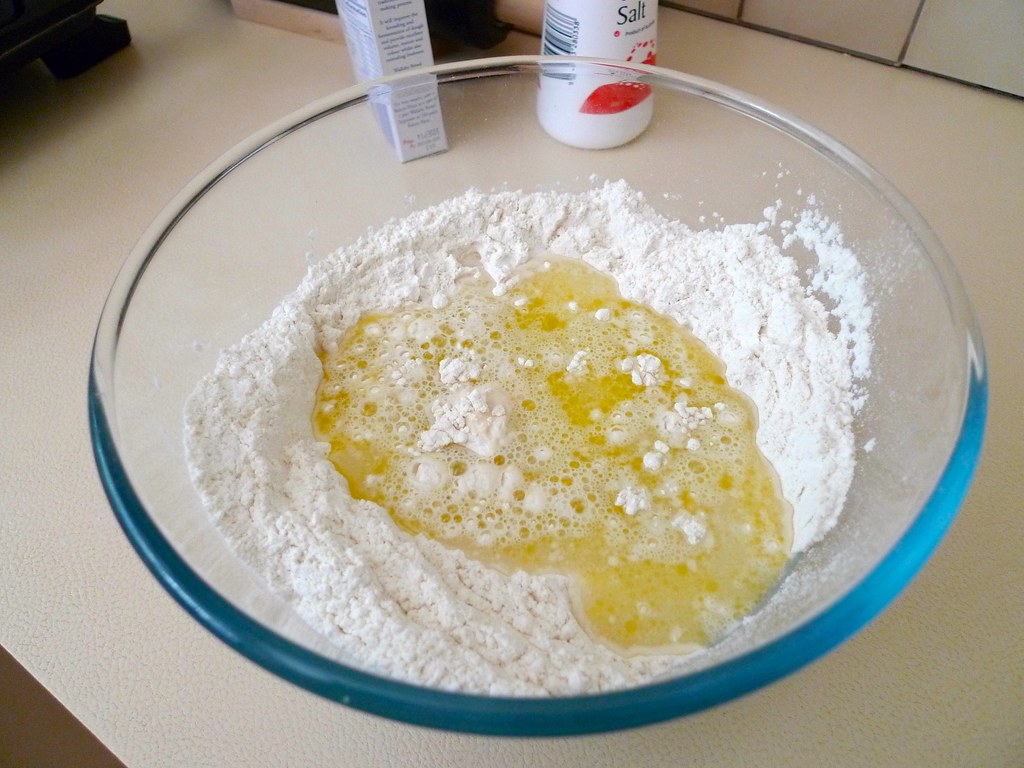
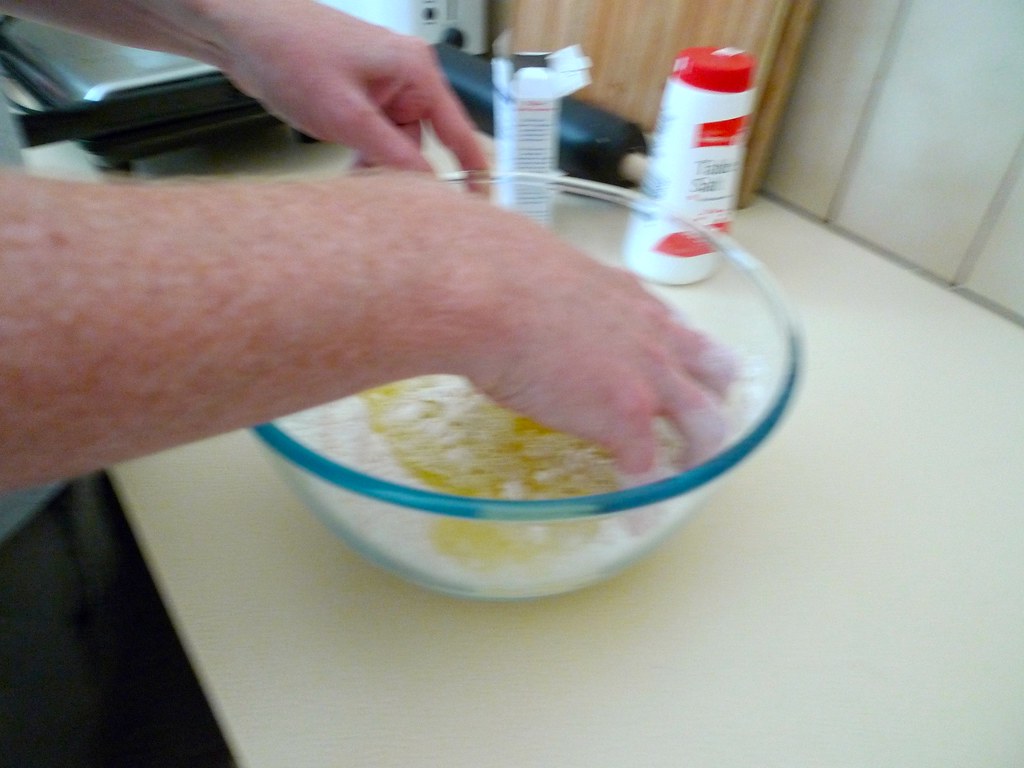
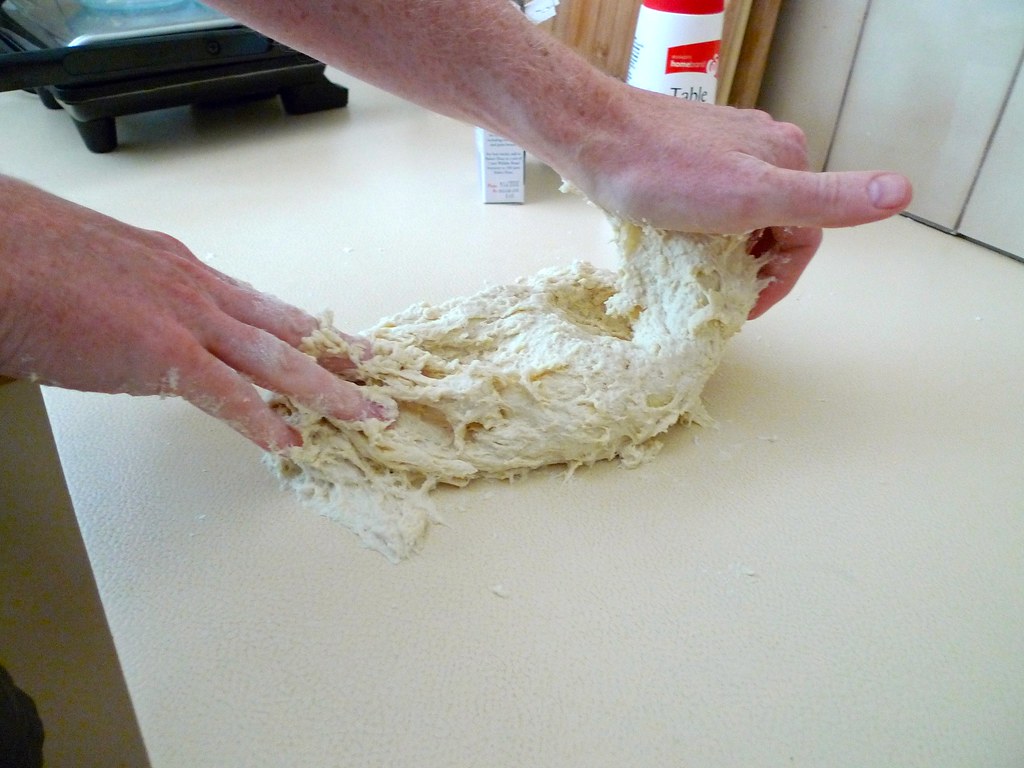
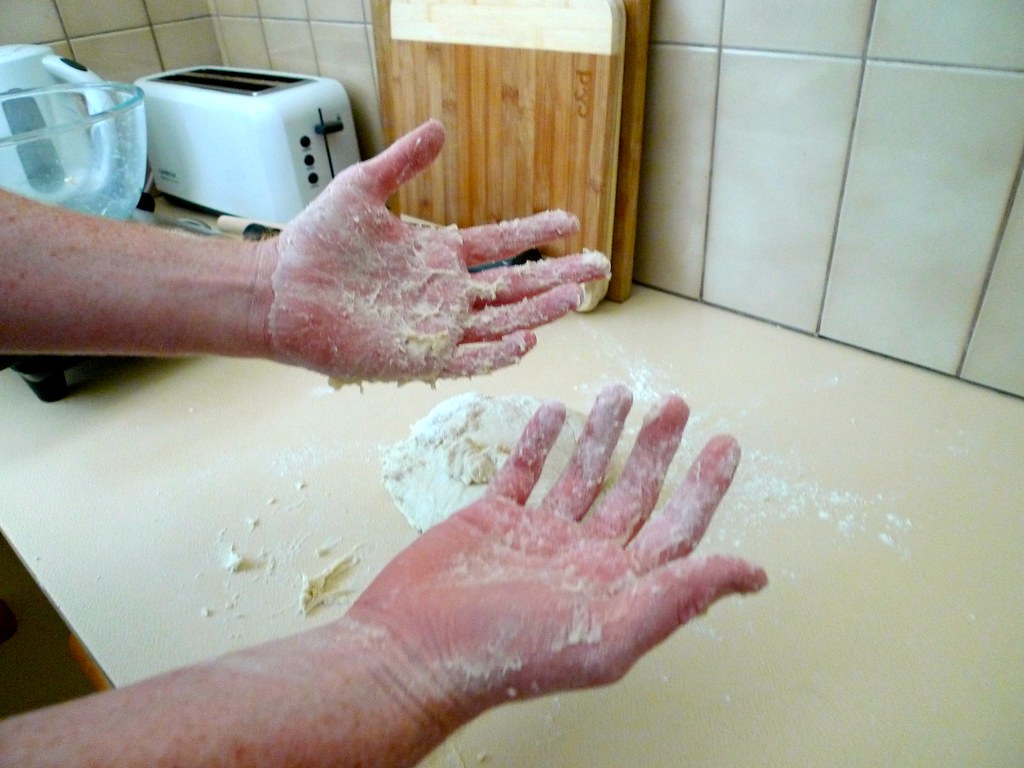
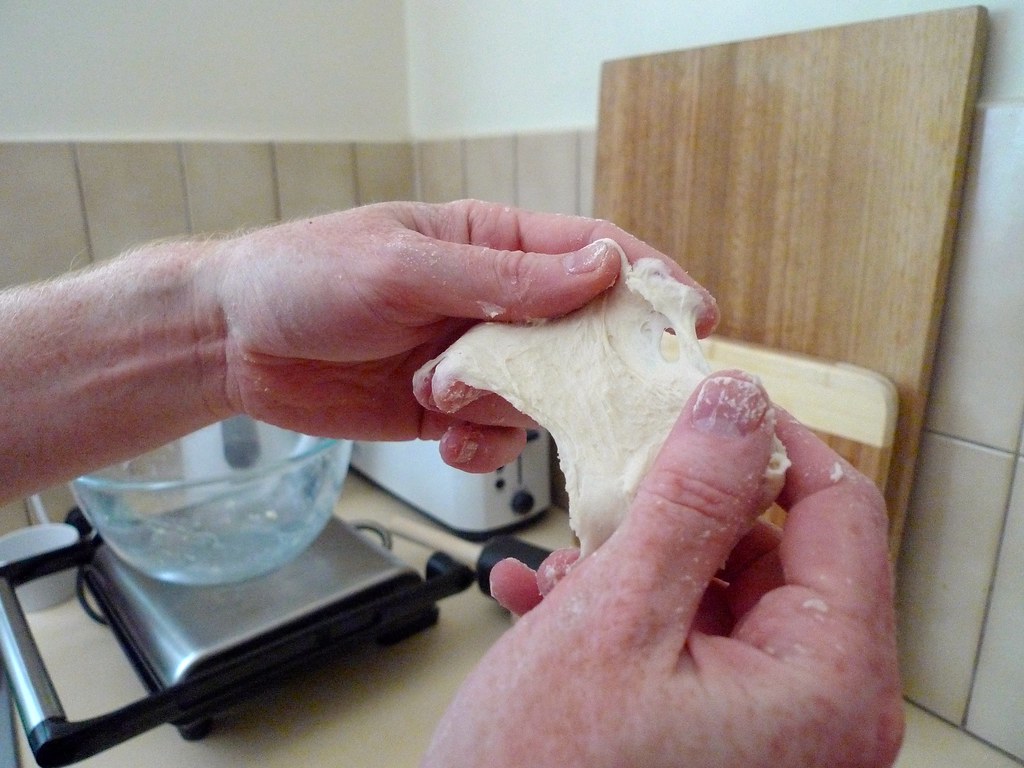
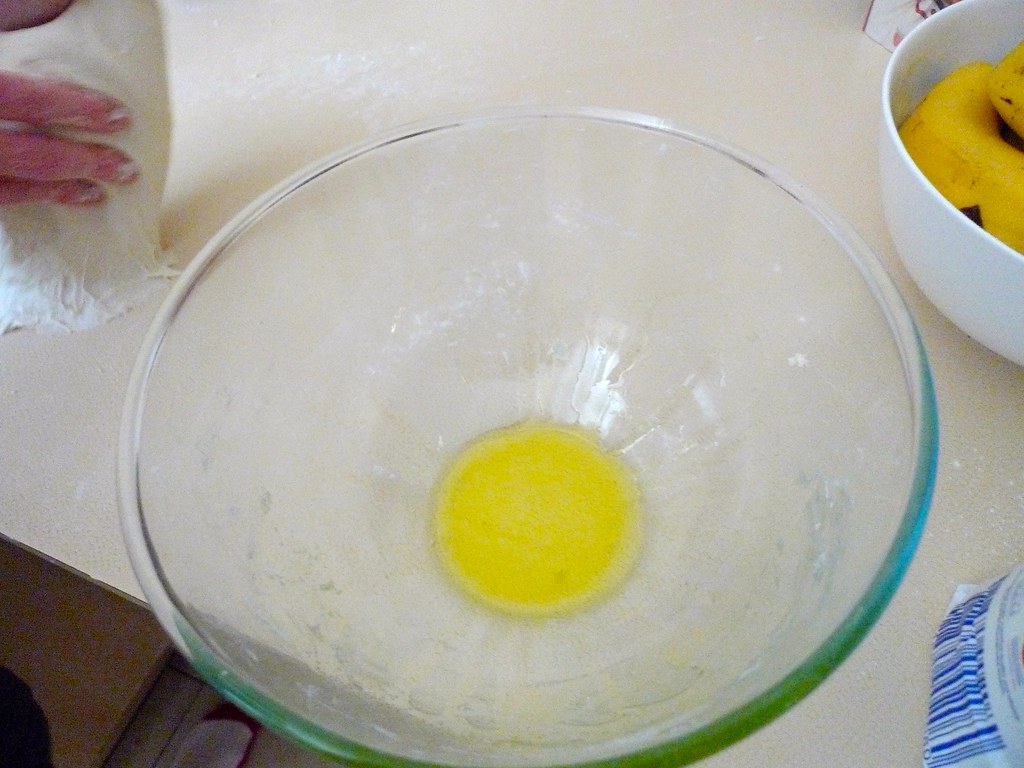
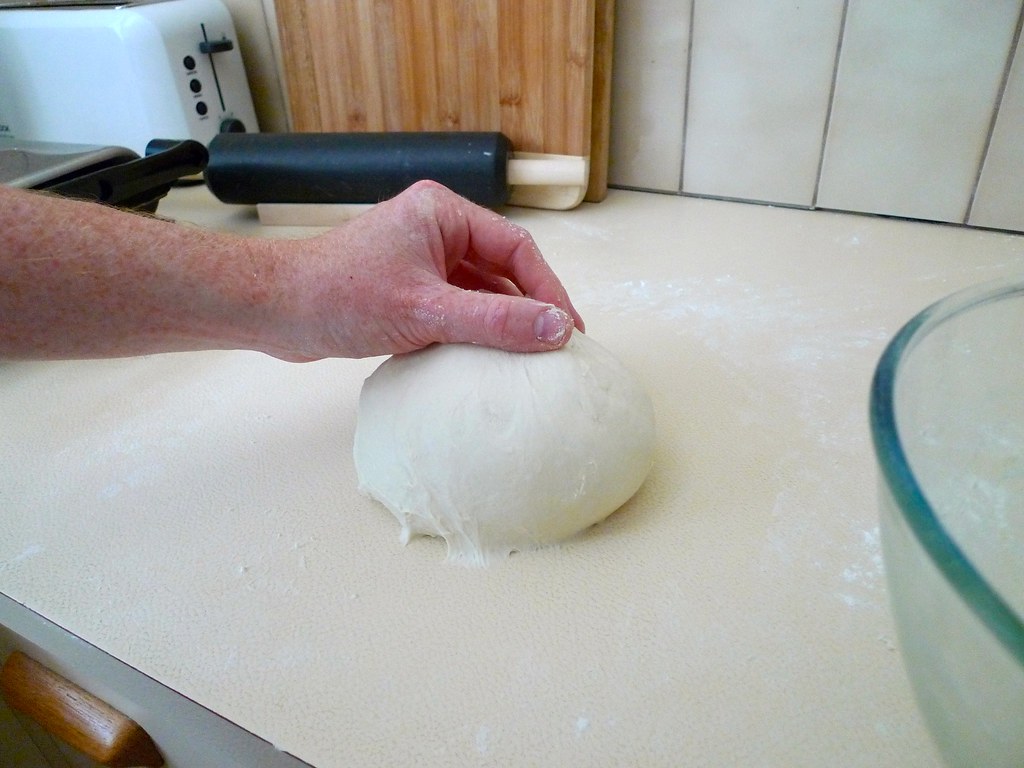
- Dough: Mix all ingredients until a stretchy, sticky, smooth ball forms. I used a mixer with a dough hook, since the dough is quite sticky. It would be possible to do by hand, but I wouldn't recommend it. If you do need to then you can coat your hands and the bench with a spray of oil to prevent the dough sticking too much.
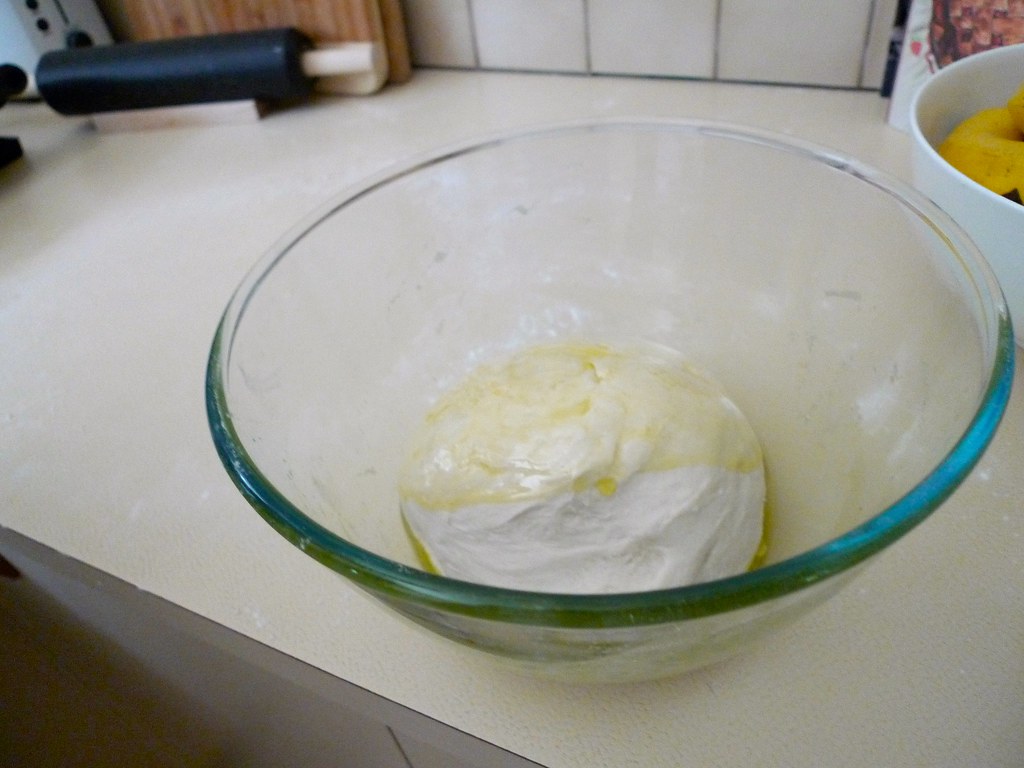
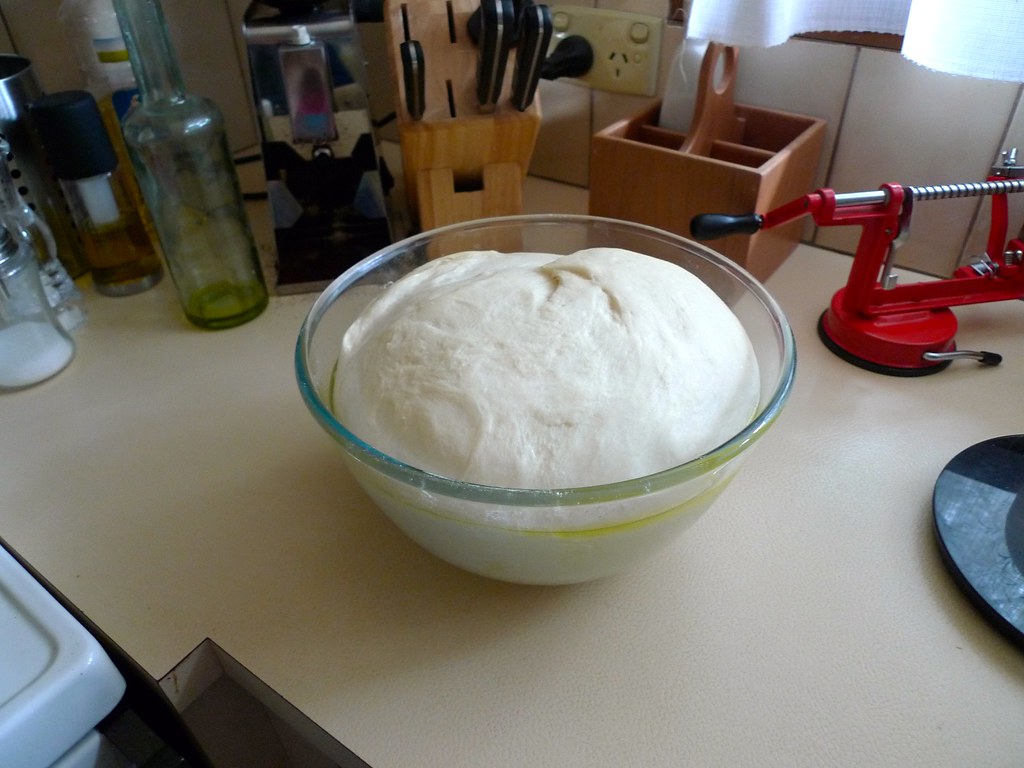
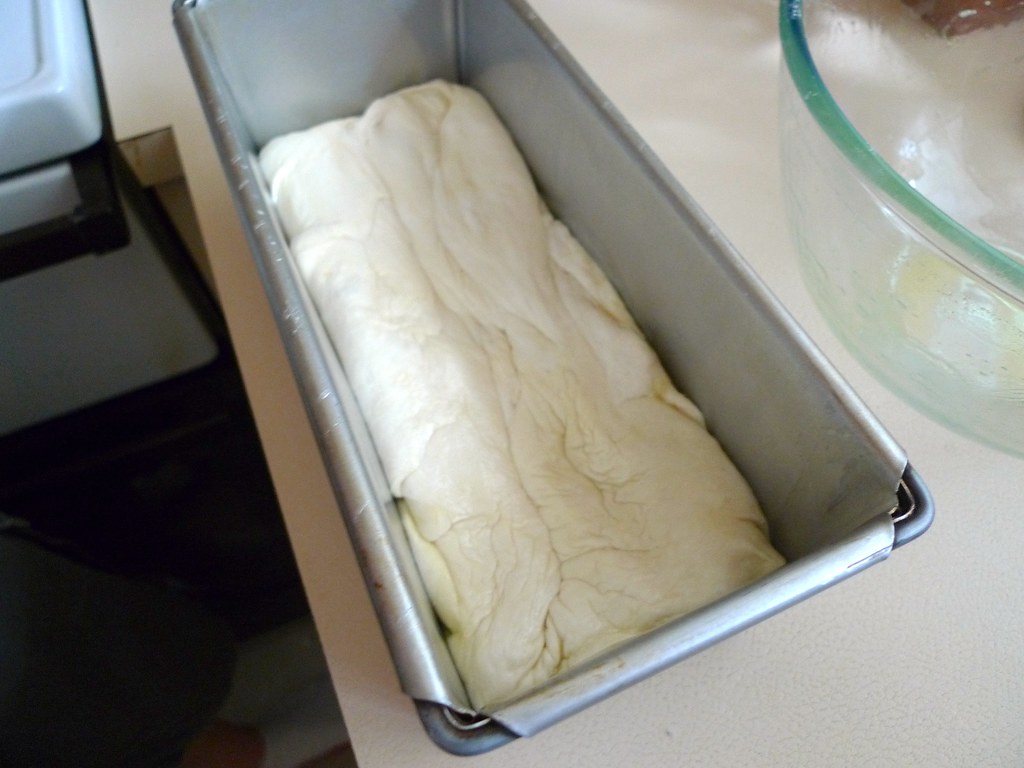
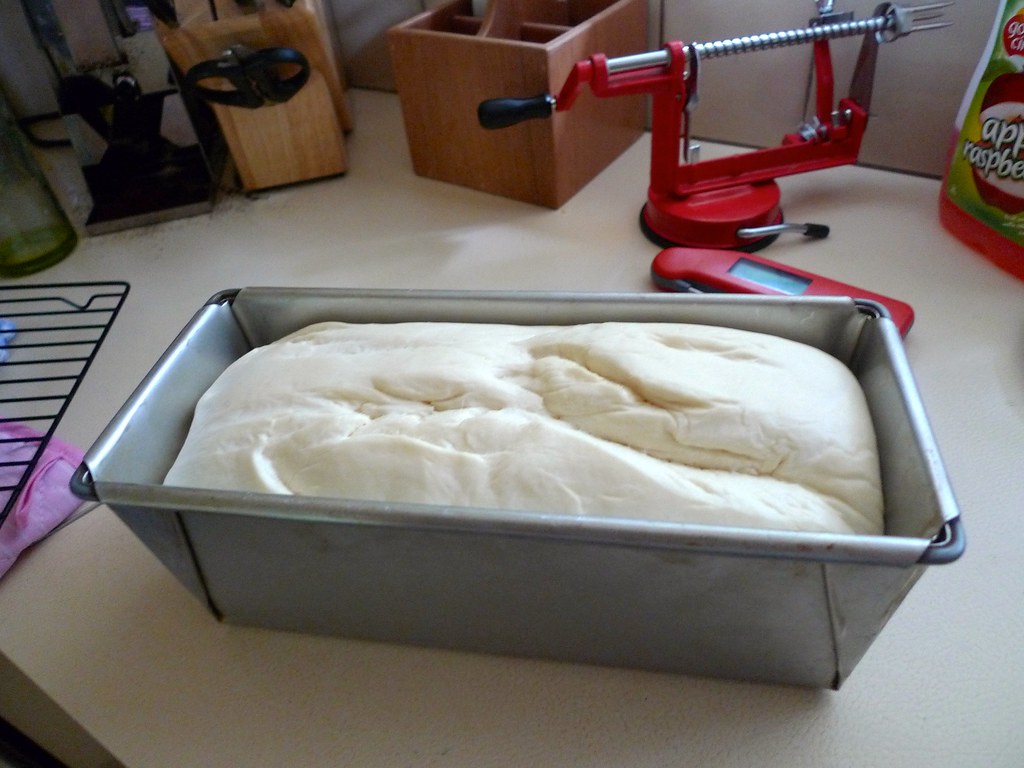
- Leave in a warm place until doubled in size. Since this is an enriched (with milk, butter and egg) dough it can take quite a while to prove - even a couple of hours).
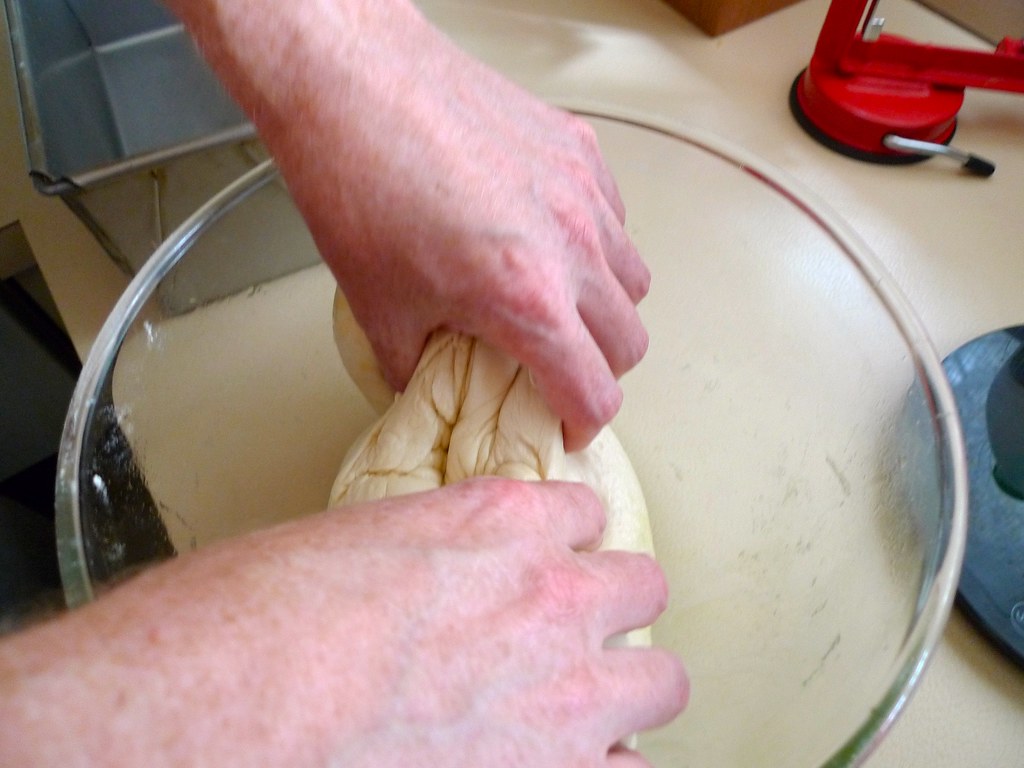
- Punch and roll into a rectangle (golden ratio, please) until approximately ½ cm thick
- Filling: Beat butter until creamy, add brown sugar and cinnamon and mix until smooth. Spread over the dough.
- Roll up lengthwise. Cut into pieces about 2-3cm wide.
- Place scrolls with a good separation (1-2cm) on a greased biscuit tray, or a cake tin(s) - any shape will do. At this point you have a few choices:
- cover lightly with a towel and leave to rise for about an hour, or until the scrolls are just about to touch, or
- cover with plastic and refrigerate up to two days for later baking, or
- keep longer if frozen (about a month, apparently) and thaw in the fridge overnight before baking.
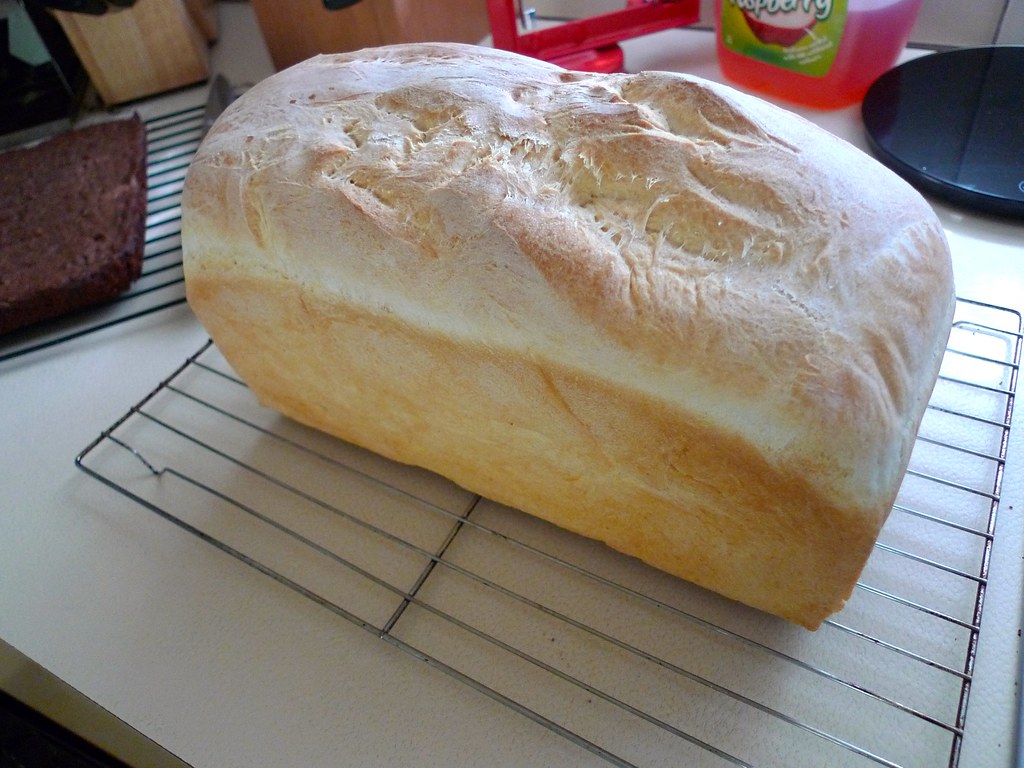
- Heat oven to 190°C and bake for 10-15 minutes until brown around the edges.
- Icing: While scrolls are baking, beat the icing ingredients together and spread generously over each roll while still hot.
I apologise for the lack of photos! I'll have to make them again and force myself to not eat them all up before taking a photo :)
As I said, a lot of recipes get very complex requiring you to scald the milk, or dance counter-clockwise around your bench while it's mixing (sorry if you don't have an island kitchen bench!) but it's really not necessary. The above recipe makes deliciously light, fluffy and tasty scrolls without all that malarky.
The really nice part about this recipe is that you can chill portions and consume them over time. I made 15 scrolls and then some from the recipe; I made the dough and scrolls on Saturday evening and then Abbey and I had 4 smallish end bits (sans frosting) for breakfast on Sunday morning, 9 scrolls on Sunday afternoon with friends and the remaining 6 today for morning tea with co-workers. All baked withing minutes of consumption, which made them very yummy indeed :)
The really nice part about this recipe is that you can chill portions and consume them over time. I made 15 scrolls and then some from the recipe; I made the dough and scrolls on Saturday evening and then Abbey and I had 4 smallish end bits (sans frosting) for breakfast on Sunday morning, 9 scrolls on Sunday afternoon with friends and the remaining 6 today for morning tea with co-workers. All baked withing minutes of consumption, which made them very yummy indeed :)