Monday, December 30, 2013

Tamale Pie

For the last pie of the year I decided to do something very different, a Tamale pie (think taco filling with corn muffin on top). I stumbled on a recipe over here and thought it looked yummy. Corn muffin mixes are rare in Australia, so I had to follow another recipe to make those. It was tough enough just finding the cornmeal (hint: look for polenta and read the ingredients carefully to make sure it's actually corn meal)!

Ingredients
Filling

  • 500g minced beef
  • 1 brown onion
  • 1 small can corn kernels
  • 1 can kidney beans
  • 1 can crushed tomato
  • 1 grated carrot
  • 3 small brown onions*
  • 1 packet of Taco seasoning
Muffin Topping

  • 1 cup cornmeal
  • 1 cup plain flour
  • ⅓ cup white sugar
  • 2 teaspoons baking powder
  • ½ teaspoon salt
  • 1 egg, beaten
  • ¼ cup oil (original recipe says canola but I used olive)
  • 1 cup milk

Method
  • Preheat the oven to 200ºC.
  • Make the filling by frying the onion until soft, adding the mince and frying until brown, adding the seasoning and stirring until mixed and then adding everything else. Leave it simmer while you get on with making the muffin mix.
  • Make the muffin mix by stirring together all the dry ingredients in a bowl and the mixing in the wet stuff gently until you've got a lovely yellow consistent gloop.
  • Add some leftover cornmeal to the filling if it's a bit wet until it's nice and thick.
  • If you've not used an oven-safe frying pan you should now transfer the filling to a pie dish. Top the filling with globs of the muffin mix in a pleasing pattern. It will spread a little.
  • Bake for 20 minutes or until the muffin topping is cooked.
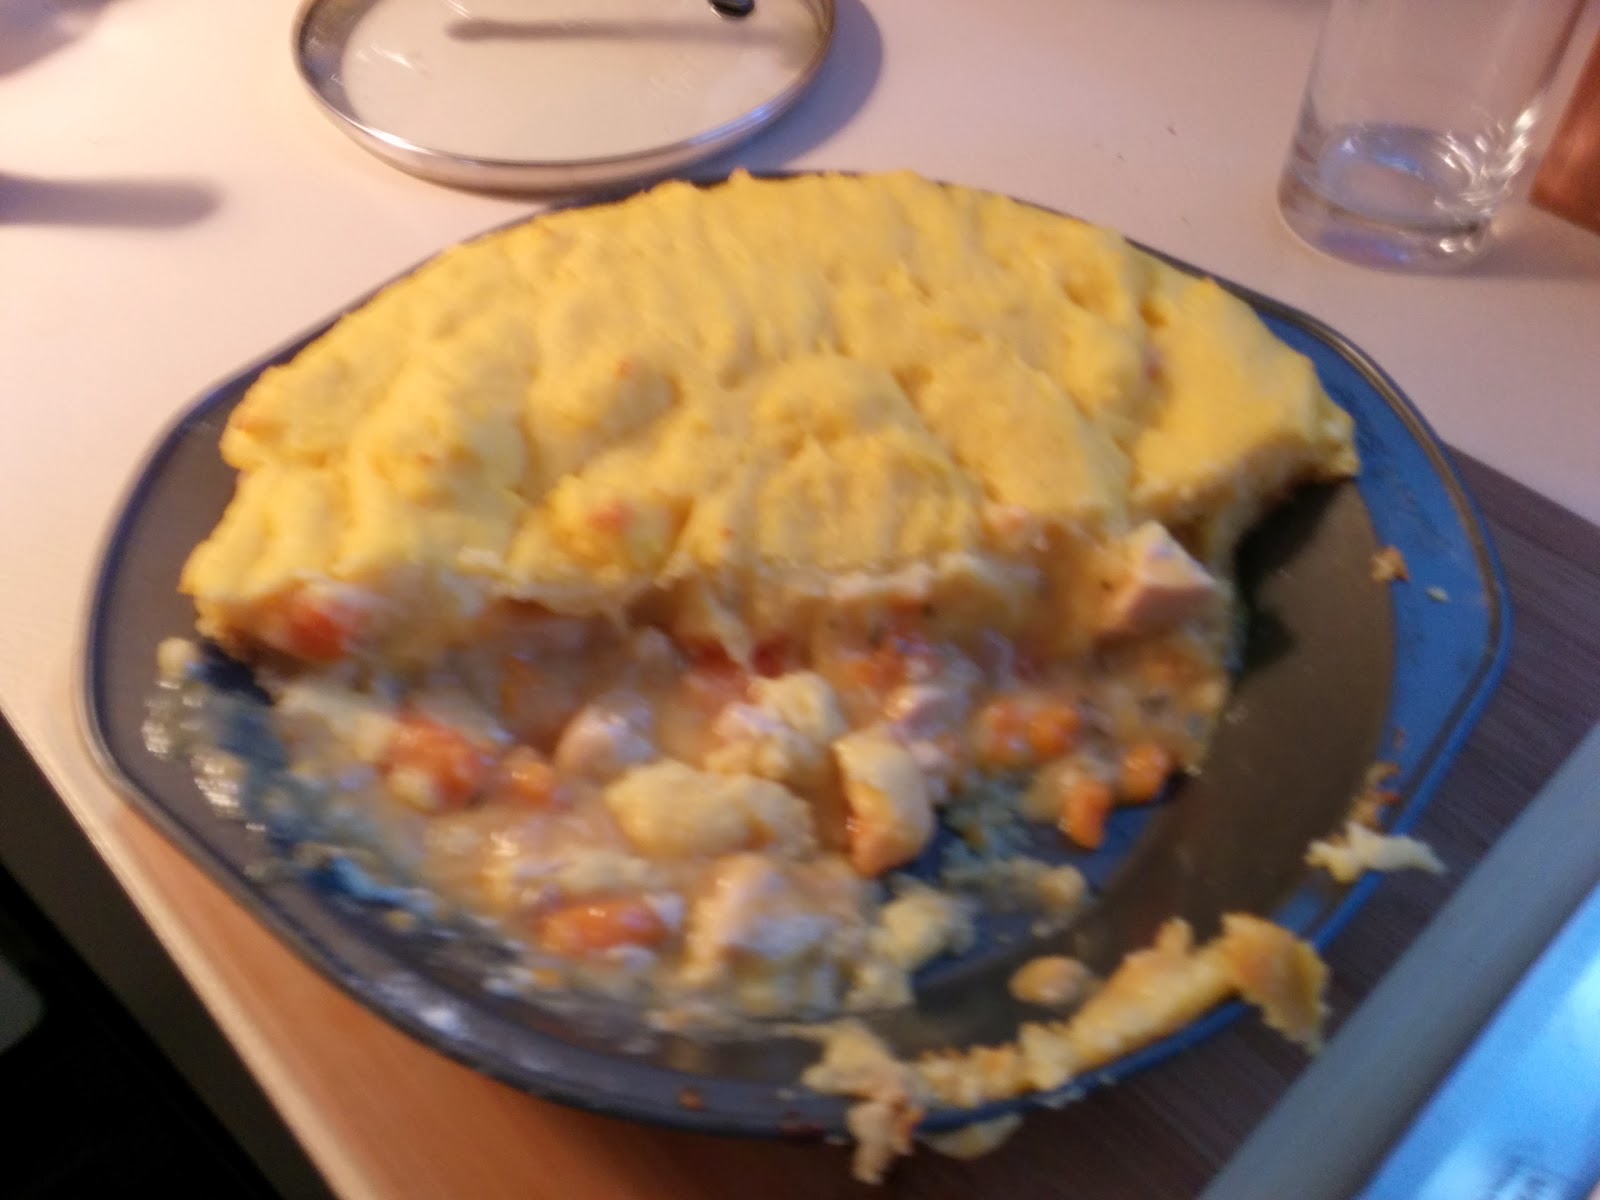
I thought this was quite nice but the muffin top was too sweet. It was so sweet my daughter was turned off it. I reckon my American readers would probably find it palatable (based on my experience with corn muffins over there) but I think next time I'll halve the sugar.

* at this point I was just throwing stuff in I had in the fridge to make it a semi-balanced meal :)

Sunday, December 29, 2013

Chicken Pie

Tonight's pie - the second last of the pies in this Year Of Pie - was a yummy chicken pie. With bacon, mushroom and Pinot Grigio. I made it up as I was going along, and the wine I was drinking as I was cooking it was tasty, so I chucked some in. Yum.

The base was shortcrust and the top a rough puff. Along with the other ingredients already mentioned, I threw in an onion, a chicken stock cube and a light sprinkling of salt, pepper and rosemary. It all came together rather nicely.

Ingredients

  • 650g chicken thighs, cubed
  • 4 short rashers bacon, chopped up
  • 1 brown onion
  • 6 small brown mushrooms
  • 1 generous splash (a sploosh?) white wine (whatever is on hand that you quite like, or just use water if you don't want to use wine)
  • 1 chicken stock cube
  • a dash of rosemary
  • salt, pepper to taste
  • some plain flour to make the gravy
  • 250g butter and 550g flour to make the pastries
Method
  1. Prepare the pastries beforehand so they can chill. Remember that the rough puff needs to be folded and chilled several times so plan ahead a few hours. This is a good pastry to make during the day on a weekend spent at home since each fold and chill takes only a few minutes.
  2. Blind bake the case. This takes about 30-40 minutes so while it's going you can prepare the filling.
  3. Fry up all the filling bits however you'd normally do it. You might also like to add some cream (about 1/3 cup I suppose) but I'm happy with how it came out without that. Just before you use the filling you should thicken it up with some flour. Just sprinkle some on, stir and repeat until the gravy is thick enough.
  4. Fill the pie and top with the rough puff and bake for 40 minutes. Add an egg wash if you can be bothered. As you can see from the photos I didn't.
What I like about this pie is that I'm quite comfortable making it (or something like it - whatever filling) as just a thing we can have on a weekend. Thanks to this Year of Pie I find it quite easy to make the pastry and do all the construction. What a wonderful thing!

Wednesday, December 25, 2013

Bakewell Tartlets

Given this is a Great British Bake-Off inspired Year Of Pie I figured it would be wrong to go the entire year without baking a Bakewell Tart. I've even used one of the contestant's recipes as a reference. I didn't follow it exactly for various reasons.

Ingredients
For the pastry
  • 100g butter, chilled and cubed
  • 200g plain flour, sifted
  • 40g icing sugar, sifted
  • 3 tbsp chilled water
For the frangipane
  • 110g butter, softened
  • 110g caster sugar
  • 2 eggs, beaten
  • 80g ground almonds
  • 2 tbsp plain flour
Also
I was just chuffed to bits with how these
came out. Look at that pastry! Just look at it!
  • Some raspberry jam (at least a few tablespoons worth)
Method
  1. Put the flour and sugar into a blender. Blend in the chilled butter until it resembles coarse breadcrumbs. Add the water 1tbsp at a time while still blending. Continue to blend until the dough starts to ball up. Turn out onto some plastic wrap, squish into a thick disk, cover fully and refrigerate for an hour before use.
  2. Place little tart-removal paper strips in the cups of a 12-cup cupcake tin (see previously). Unwrap the pastry, place a large sheet of greaseproof paper on top and roll out the pastry to a thickness of 1mm. Cut out 9-10cm rounds from the pastry (a good centimeter larger than the cupcake cup) and gently push into the cupcake tin. Chill for 15 minutes.
  3. Preheat the oven to 170°C.
  4. For the frangipane, place the ingredients in a bowl and beat with an electric mixer until smooth and thoroughly combined.
  5. An action shot! You don't get many of those
    on this blog, but they were just so PUFFY!
  6. Prick the bases of the pastry cases then place (a generous) half a teaspoon of the jam in each. Zap the jam in the microwave for 10 seconds to soften it up a little if it's too hard to work with. Top with the frangipane mixture. I used a piping bag to get the frangipane in nice and evenly. Bake in the oven for about 30-40 minutes until the frangipane is risen and golden. Cool in the tin for a few minutes then transfer to a wire rack.
      The original recipe included making the jam, which I just wasn't up to doing on Christmas Eve.

      It also included half the frangipane I've included above. I ended up tripling the amount, but that was a little too much - as you can see above they're really slightly too ... generously tall. Doubled would be fine, so that's what I've included in the ingredients list.

      The original recipe had the baking time at 25 minutes which was way too short - my tartlets needed 40 minutes. You could use any jam you like in the base.

      So yummy!

      Sunday, December 22, 2013

      Custard Tarts Revisited

      The first batch. At least I remembered to sprinkle the nutmeg
      on this lot.
      My daughter requested custard tarts to celebrate the end of the school year. Oh, OK, twist my arm :) I varied the recipe from last time by making a chocolate crust instead of the plain (though sweet) one. I actually made two batches, refining the recipe the second time. The first effort used muffin tins (making 12 tarts) which meant lower sides on the tarts (my largest pastry cutter is 9.5cm) resulting in less custard. I also had less cocoa in the pastry which was also rolled out much thicker (about 2-3mm) so while they were OK, I figured I could do better.

      The next effort made 16 tarts in a couple of cupcake tins, though I could probably have gotten 18 out of the dough if it hadn't been so warm in the kitchen (the dough got way too squishy to work with).

      Always position the slightly munty ones out the back there.
      Ingredients

      • 200g flour
      • 40g cocoa
      • 50g icing sugar
      • 160g chilled, cubed butter
      • pinch of salt
      • 4 tbsp chilled water
      • 3 eggs, beaten
      • 1 1/4 cups slightly warmed milk
      • 1/4 cup caster sugar
      • 3 tsp vanilla
      • nutmeg to sprinkle
      Method
      Just after baking - note the bits of paper in the
      older, less non-stick tin.
      1. Put the flour, cocoa, sugar and salt into a blender. Blend in the chilled butter until it resembles coarse breadcrumbs. Add the water 1tbsp at a time while still blending. Continue to blend until the dough starts to ball up. Turn out onto some plastic wrap, squish into a thick disk, cover fully and refrigerate for an hour before use.
      2. Roll the pastry out until quite thin - about 1mm or so. Use some flour (sparingly) to stop it sticking. Cut circles that are about 1cm larger than the cupcake cup top. Cut out lengths of 1cm wide baking paper that fit in the tray holes with bits poking up - these will be handles to help pull the tarts out if they stick (which can happen with sloshed custard). Carefully poke the circles into the holes, being sure to not create a fold. Press into the corners. If you need to press the pastry around a bunch then it's a good idea to use a cast off piece of dough rolled into a ball to push the pastry around with. This will prevent you warming up the case pastry too much when fiddling with it, or poking holes with your finger tips. Cover with plastic wrap and chill for about 20 minutes.
      3. Preheat the oven to 200°C. Jab the case bases with a fork a couple of times, cover with a little bit of foil (carefully - I find it's easy to accidentally push the pastry sides down) and some baking weights. Bake for 10 minutes and then remove the foil to bake a further 10 minutes (after starting the second bake, prepare step 4). If your oven is as uneven as mine that's a good opportunity to turn the tray around to even out the bake a little. It can be tricky to tell if the pastry is done because it's so dark, but that cooking time should be about right.
      4. Reduce oven to 180°C. Mix the slightly warmed milk, caster sugar, vanilla and eggs. Skim off any bubbles and floating egg white chunks. Once the pastry comes out of the blind baking, carefully pour the custard into the cases up to the rim. Sprinkle with the nutmeg.
      5. Bake for 20 minutes or until the custard doesn't wobble too alarmingly. Cool the tarts in the tin for about 5 minutes and then cool on a wire rack.
      Next time I'll tweak the recipe by adding just a little more sugar to the crust. Maybe another 20-30 grams. I seem to recall reading somewhere that a 1:2 ratio of cocoa to sugar is good to aim for, but I might be making that up.

      Sunday, December 15, 2013

      Ginger, Pistachio and Chocolate Tarts

      Heading off to a friend's house for lunch on Saturday I promised to bring along something sweet for dessert. I decided to adapt this recipe to individual tarts. You'll need a couple of 6-cup muffin tins to make this.

      Ingredients

      • ¾ cup shelled pistachio nuts, chopped very finely
      • 225g flour
      • 125g butter, chopped into 1cm cubes and chilled
      • ¼ cup caster sugar
      • 4 tbsp chilled water
      • ½ cup heavy/double cream
      • 200g semi-sweet dark chocolate
      • ¼ cup crystallised ginger chopped into tiny bits
      Method
      1. Put the flour, sugar and pistachio nuts into a blender. Blend in the chilled butter until it resembles coarse breadcrumbs. Add the water 1tbsp at a time while still blending. Continue to blend until the dough starts to ball up. Turn out onto some plastic wrap, squish into a thick disk, cover fully and refrigerate for an hour before use.
      2. Roll the pastry out until quite thin - about 2-3mm or so. I did this in two lots to keep the rolling out easier. Use some flour (sparingly) to stop it sticking. Cut circles that are about 1cm larger than the muffin cup top. Carefully poke the circles into the holes, being sure to not create a fold. Press into the corners. Cover with plastic wrap and chill for about 20minutes. Preheat oven to 200°C.
      3. Jab the case bases with a fork a couple of times, cover with a little bit of foil and some baking weights. Bake for 10 minutes and then remove the foil to bake a further 10 minutes. If your oven is as uneven as mine that's a good opportunity to turn the tray around to even out the bake a little. The pastry is done when you can see that there's no darker, slightly translucent bits of pastry dough left - that is, it's all cooked. Let the cases rest for a few minutes before removing to a wire rack.
      4. Place your ginger in the bottom of the cases. You want to see a pretty solid cover across the bottom, but not too thick.
      5. Now we're on to making the ganache. The key to making a ganache is to not overheat the chocolate. If you do it'll separate and you'll see it turns grainy. Chuck it at that point and start again.
      6. Heat the chocolate in bowl in a microwave on high for about a minute, stopping to move the chocolate around a bit halfway through. Add the cream and heat a little more. Stir the cream and chocolate together - at this point you should have a nice consistent chocolate liquid with a few chunks of chocolate. Eventually the chocolate will all melt, though do remember to keep stirring. If it's not quite all going in then you can zap it a little longer in the microwave. Go for 5 second intervals at most. I've had ganache turn bad almost a minute after taking it out of the microwave.
      7. Pour the ganache into the cases. Chill.
      Yummy!

      I found the pistachio flavour was pretty much lost to the chocolate. I'm going to try putting more nuts in next time and see if that helps. Even the leftover pastry bits that I baked separately don't really taste very nutty. The original recipe had some of the pistachio sprinkled over the top with the ginger, but I like the smooth, shiny, chocolate finish of the little tarts.

      Sunday, December 8, 2013

      Experimenting with Potato Crust

      Sorry, no photo.

      Inspired by my friend Judy's endeavours, I attempted a potato crust for the pumpkin and blue cheese pie. I poked around the Internet and settled on the following as my recipe.

      Ingredients
      • 500g butternut pumpkin
      • 1 brown onion, sliced
      • 1 tsp dried thyme
      • 100g blue cheese
      • 25g chopped walnut (use up to 100g more if you like walnuts a lot, or sub in pecans if you like)
      • 3 large potatoes (I used desiree) grated
      • 2 eggs
      • 1 tbsp olive oil
      • generous pinch of salt
      Method
      1. Pre-heat the oven to 200º C.
      2. Mix the potato, eggs, olive oil and salt. Line a pie tin (mine is a standard 20cm one) with the potato.
      3. Cover the pie crust with foil and bake for 20 minutes. Remove the foil and bake a further 10 minutes.
      4. While the crust is baking, peel, de-seed and slice the pumpkin flesh thinly. Coat with a bit of olive oil, some salt and the thyme and spread out onto a baking tray. Coat the onion with some oil and salt, and spread it into a single layer on the second tray. Roast the vegetables for 20 minutes.
      5. Pour the balsamic vinegar over the onion to coat, and turn the oven down to 200º C and bake for another 10 minutes.
      6. At some time during all this the pie crust will come out of the oven. Set it aside; it's OK to cool a little.
      7. Mix the pie filling ingredients and fill the pie. Bake for about 5-10 minutes until the cheese is a melted.
      So, it didn't quite work as planned. The bottom of the pie stuck to the tin and was not strong enough to hold together. I'll bake it for longer next time, perhaps just lining the top of the edge of the pie with foil to stop it burning while the rest of the pie crust cooks. Also, I will grease the tin before putting in the potato. I'll probably also drop one of the eggs from the mix.

      And yes, next time I'll try to remember to take a photo!

      Chicken, Sweet Potato and Blue Cheese with Polenta Crust

      I wanted to experiment a little this weekend and try out some non-flour crusts. I saw a recipe that has a polenta crust on top and though that sounded pretty neat. I didn't like the sound of that filling though for this weekend and I wanted to also use a pastry crust because it'd been a while since I'd made shortcrust pastry. I decided to use that crust on top of another pie that looked delicious.

      It was a partial success :)

      Ingredients
      • 500g chicken thigh
      • 3 small sweet potatoes, cut into chunks
      • 1 red onion, finely sliced
      • 2 garlic cloves, crushed
      • 3 tbsp olive oil
      • 2 tbsp plain flour, plus extra for dusting
      • A few sprigs of fresh rosemary, leaves stripped
      • 500ml chicken stock, hot
      • 150g blue cheese, crumbled
      • 4 tbsp double cream
        Polenta Top Crust
      • 500ml (2 cups) milk
      • 150g (1 cup) instant polenta
      • 1 cup grated parmesan cheese
      • 1 egg, beaten
        Shortcrust Case
      • 125g butter, chopped into small cubes and chilled
      • 250g plain flour
      • 4-6tbsp chilled water
      Method
      1. Make the shortcrust pastry using the method described previously.
      2. Blind bake the pastry case while cooking the rest of the components. It'll probably have time to cool a little if you cook things as fast as I do (which is a little slow) and that's OK. Keep the oven at 200ºC for later.
      3. Heat the oil in a pan and fry the onion until soft. Add garlic and chicken and fry until chicken is browned. Add stock, rosemary, sweet potato and simmer until the potato is soft. Add flour to thicken the gravy. Remove from heat and stir in the blue cheese and cream.
      4. Boil the milk with 2 cups of water. Pour the polenta into the boiling liquid in a stream while stirring. Reduce heat to medium/low and continuously stir until the polenta is thick enough that the spoon stands in it. Take off heat and stir in the cheese and egg.
      5. Fill the case with filling, top with the polenta and bake until the polenta is browning on top.
      So, what went right? The flavour of the filling was quite nice. 

      What went wrong?
      1. I only ended up using 2 sweet potato in the filling but even then I only needed 2/3 of the filling I cooked.
      2. 500ml of stock is way too much. It made too much gravy that thinned out the flavour of the filling too much. I even removed 1/3 of a cup of it during cooking and there was still way too much. And I left out the cream because it would have thinned it out even more. 100ml would be plenty, but probably even 50ml would be enough - just keep an eye on the liquid and make sure there's some there to soften the sweet potato.
      3. 1 cup of polenta is also way too much. 1/2 cup would have been plenty. It ended up being quite a thick layer on top and there was just too much in each serving. I think I might have stopped cooking the polenta a little early too - next time I use it I'll cook it for just a little longer to see if ends up being a little less runny (it didn't run as such, but it was smooth on the top unlike in the photo from the original recipe).
      Tip: The excess pastry trimmed off the pie crust is really nice with some blue cheese on top :)