Sunday, June 22, 2014

Guest post: Elena's Extreme Olive, Sun-dried Tomato and Feta Bread

I think the secret to making really good food is taking things pretty far.

This was an experiment in that.

So I like olive a lot and also have strong positive feelings about cheeses of all sorts.

Everyone knows (cough) that these things should naturally go in bread. Though when I get olive bread from shops I often feel as if they go too easy on the olives. I decided to test the bounds.

Olives, Sun-dried Tomatoes and a hefty block of Feta:

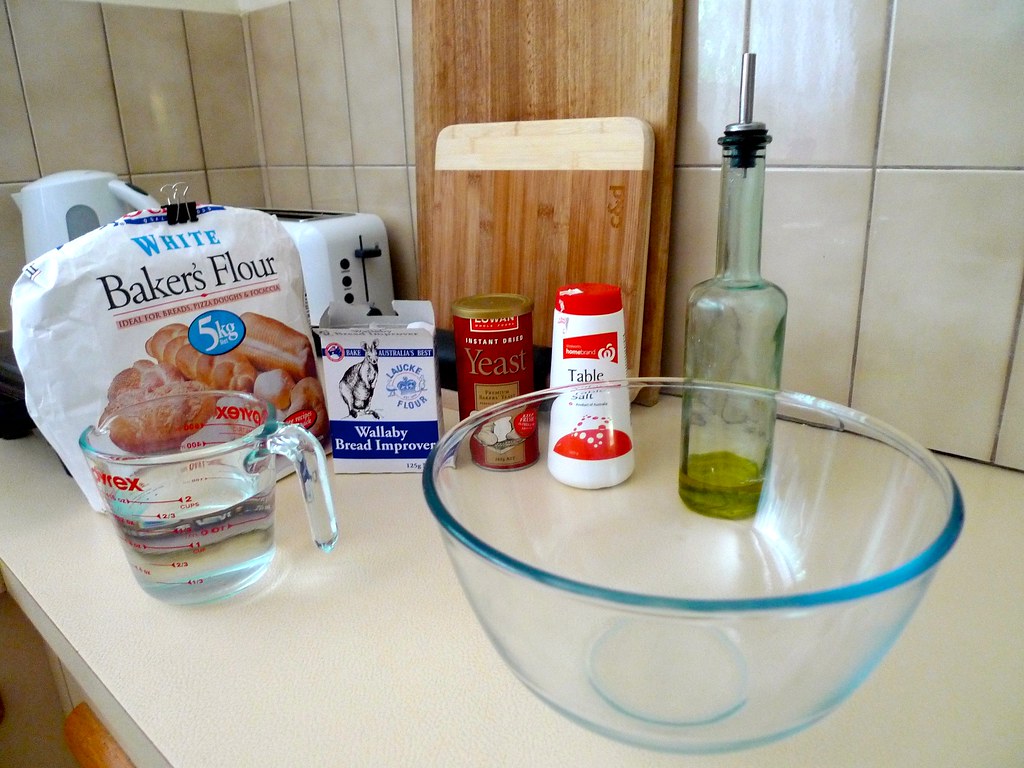
OK, so this is the thing: this came to being a non-trivial amount
(in case that's not clear >850g/1.88lb, ie "testing bounds" volumes):


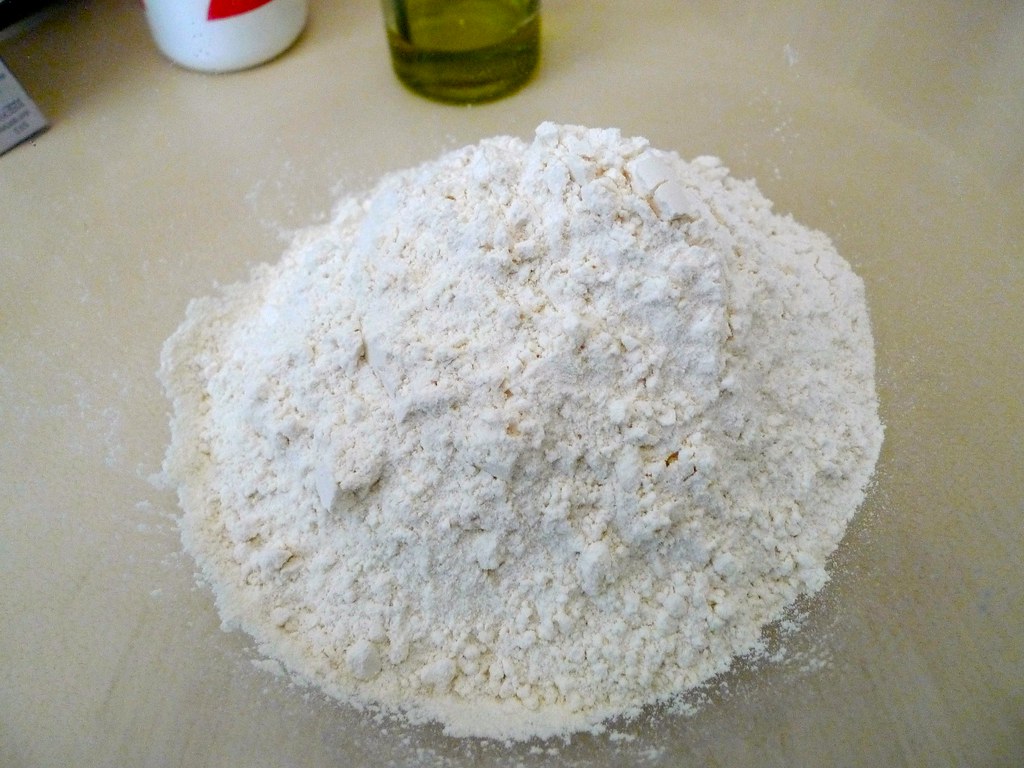
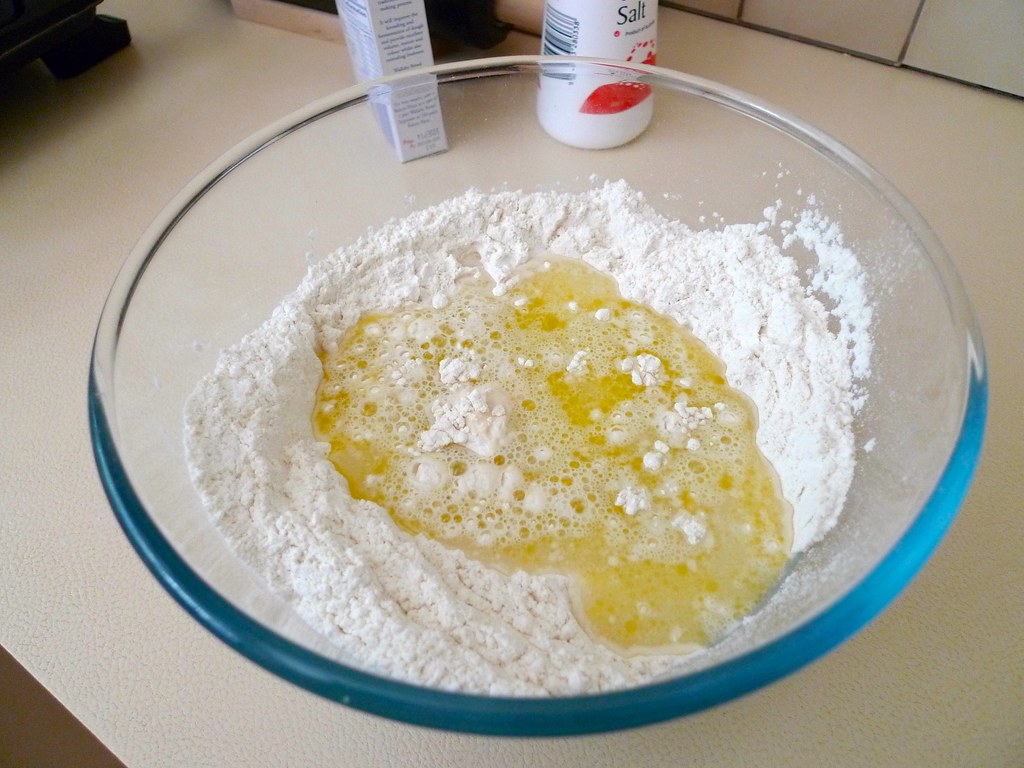
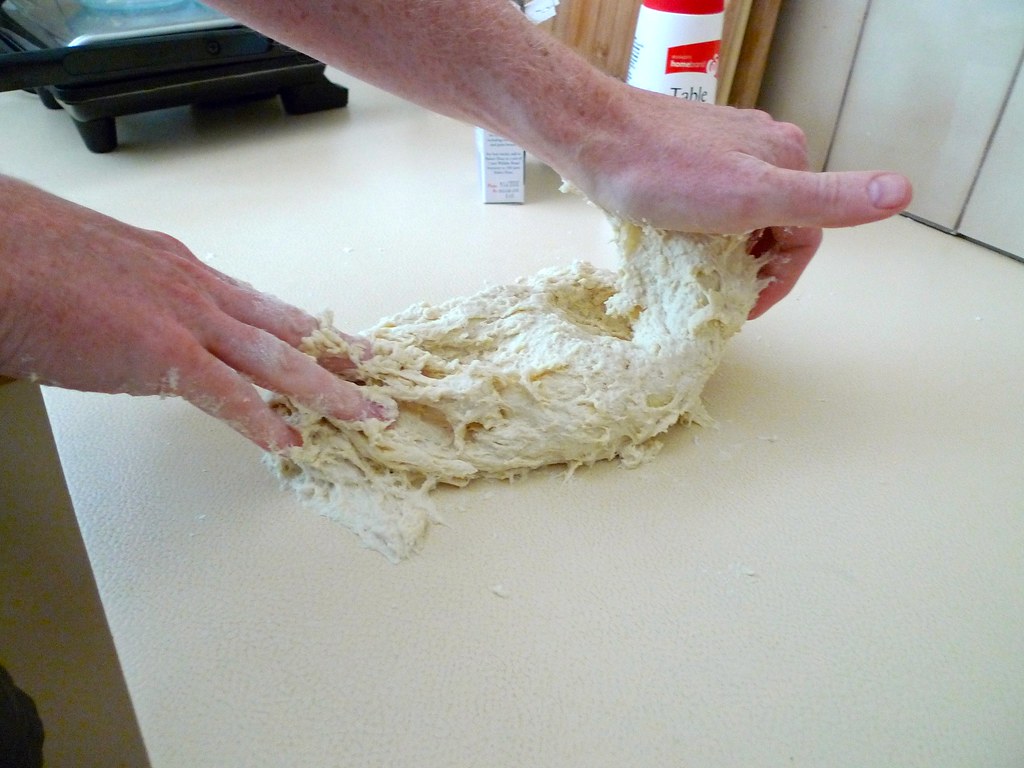
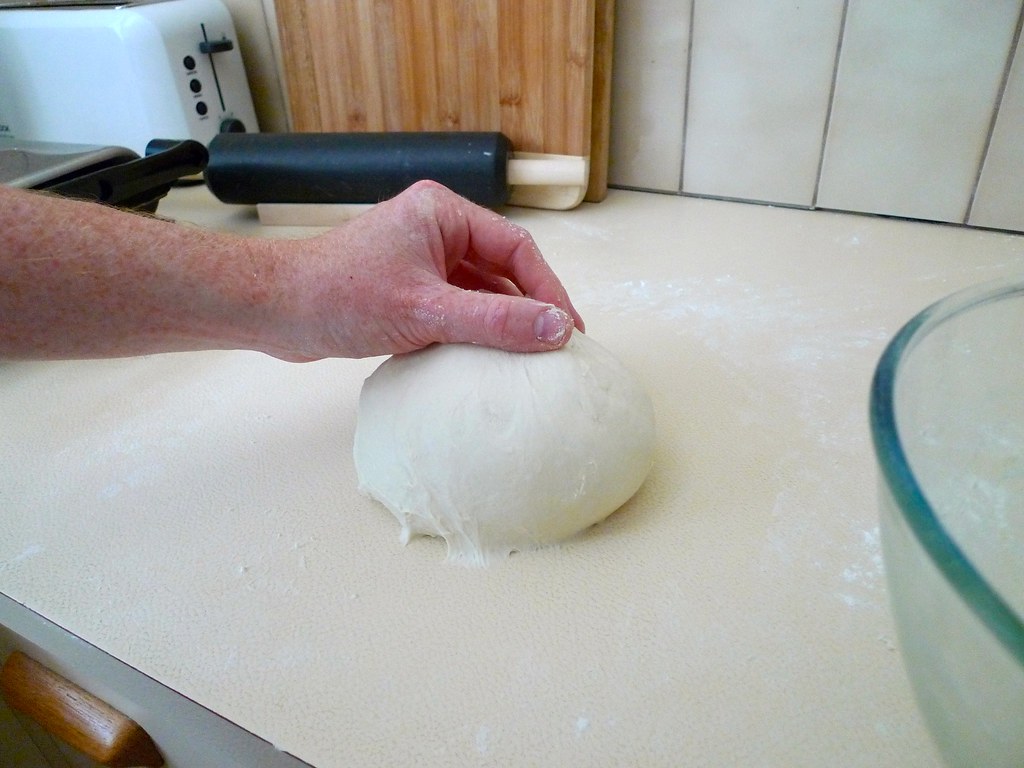
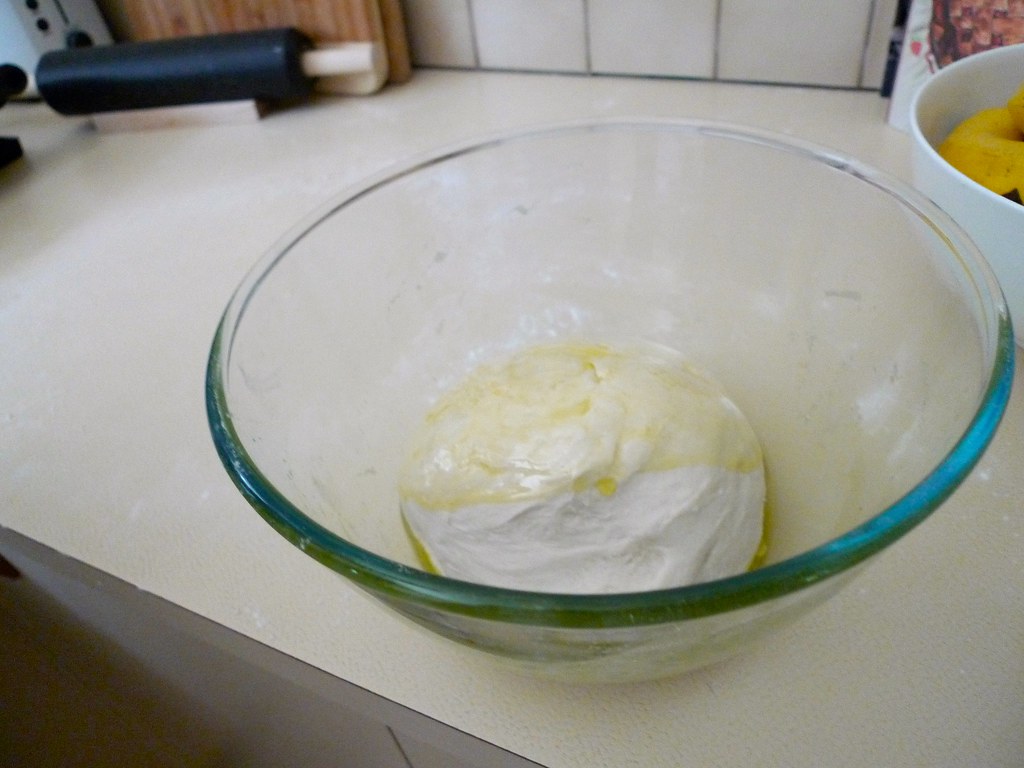
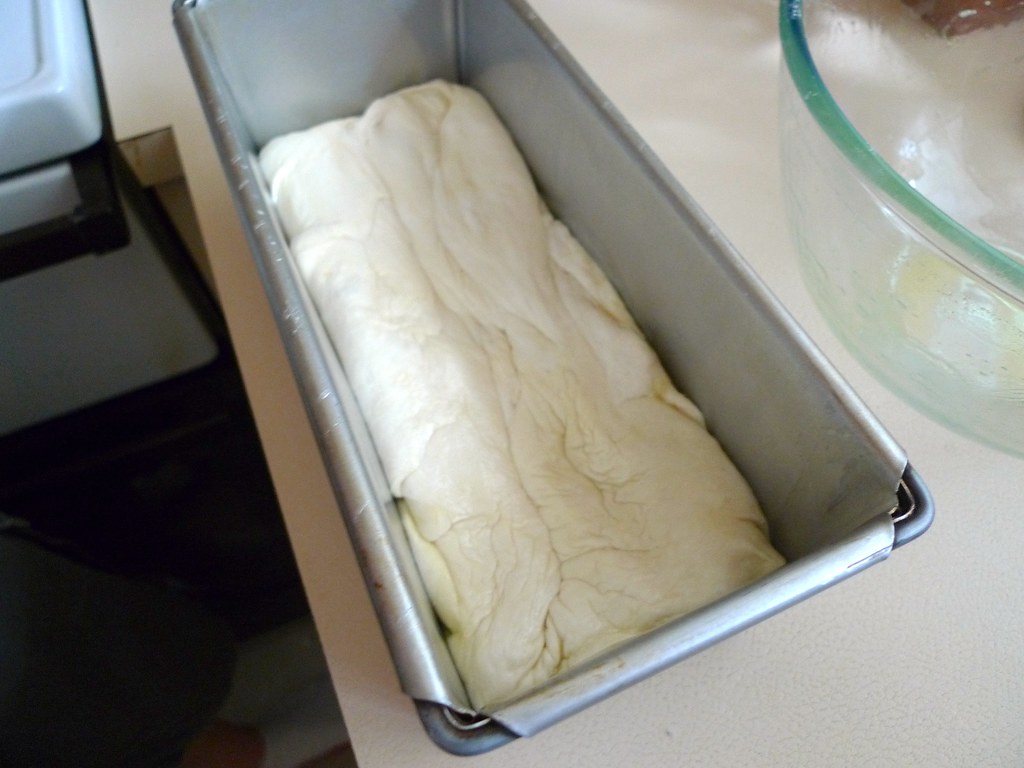
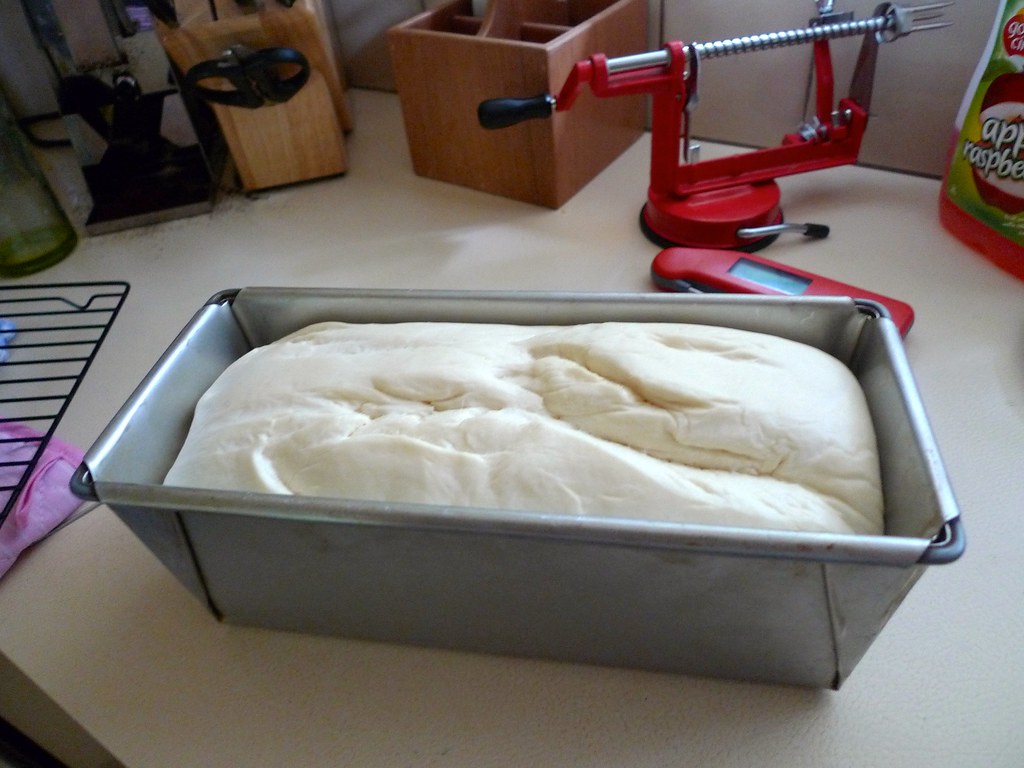
Oh bread, you looks so innocent.


... but not any more.
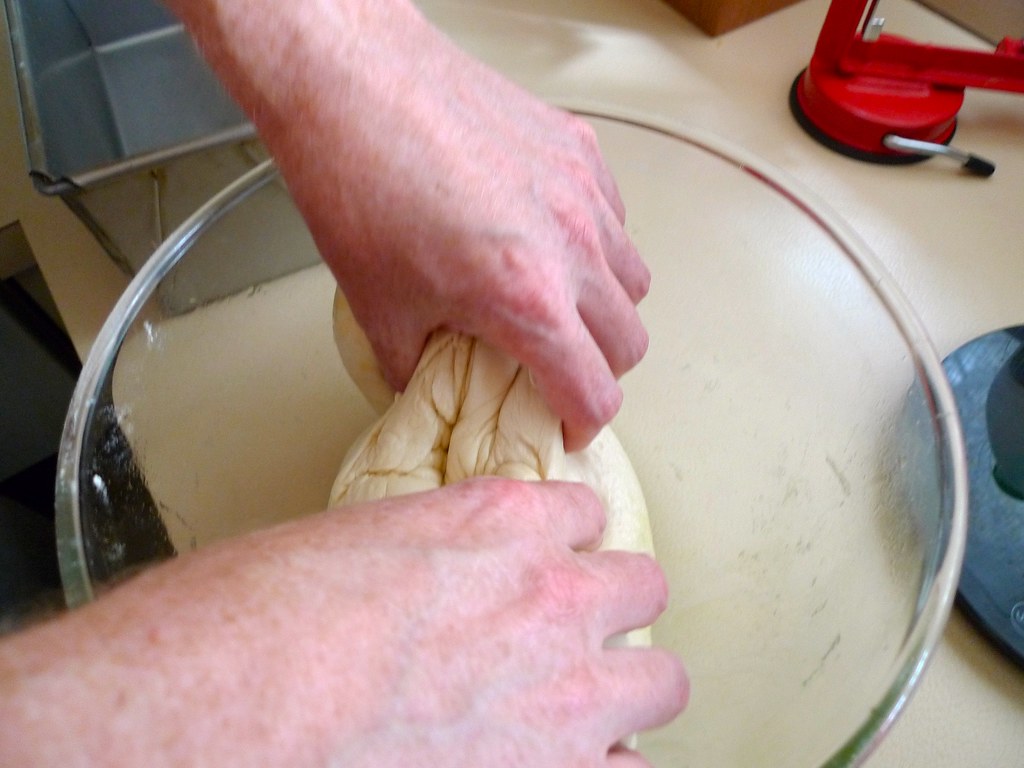
I didn't want the cheese to be pulverised so was quite careful with timing.


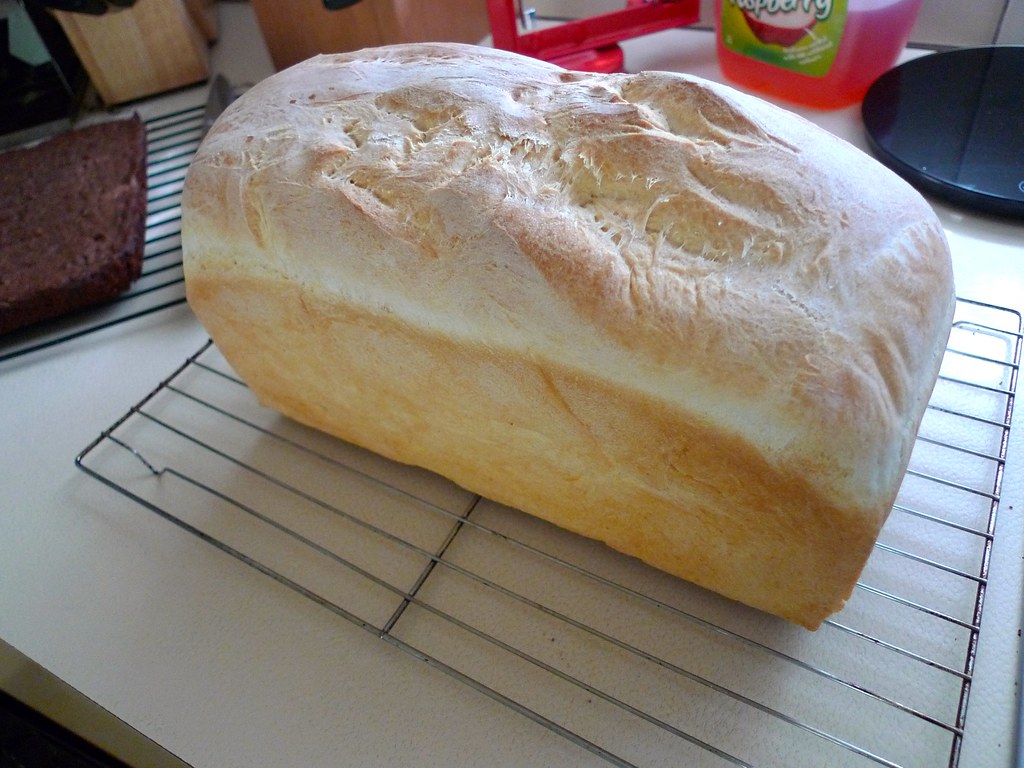
So ... Did I go too far?
Proobably depends on who you ask, but in my opinion: Goodness no!
Check it out, could even have gone further!

Structural integrity could have been slightly better, though trust that
it would have been if I had actually let it cool before I hoed in to it.
(Though hopefully you can understand I wanted to eat it while it was warm.)


... and ... it ... was ... amazing.

Kanga-bangers and whitebread indeed.

The end :)

---

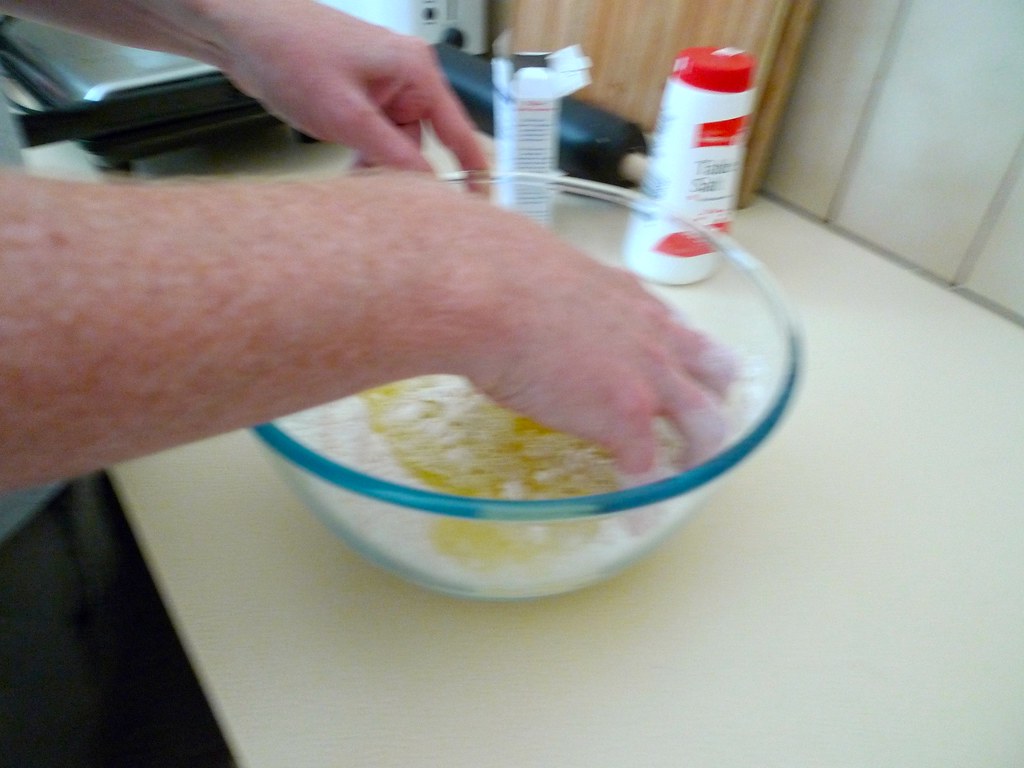
nb. I apologise for the blurry photos, I do actually try to stay still, but still not enough. I'll persist!

Monday, March 10, 2014

Orange and White Chocolate Buns, Version 2

I got a new zest grater so decided to give the Orange and White Chocolate buns a second try. The new grater produced about 4 times the zest:

I modified the recipe to use the enriched dough from the cinnamon buns so I could use the mixer to knead it all. Also there's none of that milk scalding malarky.


I mixed up the dry ingredients and then added all the wet ingredients in one go, had the machine knead it for about 10 minutes and then added half the white chocolate and peel mix for a final 1 minute knead:


I let that prove for a couple of hours (it really does need a while) until it was double in size (sorry, no photo) then knocked it back and put it on a floured bench:


Rolled out until it was about ½ cm thick:


Sprinkled the remaining white chocolate and peel over the top and rolled:


Nicely rolled up. It'll inevitably be a little fatter in the middle. I just gave it a gentle squeeze to even it out a bit.


Sliced up into 1-2cm thick pieces and placed into tins. These are then covered in plastic and put in the fridge for later baking


Baked for 20 minutes at 190°C and they're very yummy indeed!


Ingredients
  • 3 teaspoons dry yeast 
  • 1 cup warm milk 
  • ½ cup sugar 
  • 115g melted butter 
  • 1 teaspoon salt 
  • 2 eggs 
  • 4 cups plain flour
  • ¾ tsp ground cardamom
  • 3 oranges, zest only
  • 200g white chocolate chips
  • 100g candied mixed peel
Method
  1. Mix all ingredients (but only half of the white chocolate and peel amounts) until a stretchy, sticky, smooth ball forms. I used a mixer with a dough hook, since the dough is quite sticky. It would be possible to do by hand, but I wouldn't recommend it. If you do need to then you can coat your hands and the bench with a spray of oil to prevent the dough sticking too much.
  2. Leave in a warm place until doubled in size. Since this is an enriched (with milk, butter and egg) dough it can take quite a while to prove - even a couple of hours).
  3. Punch and roll into a rectangle (golden ratio, please) until approximately ½ cm thick
  4. Spread remaining white chocolate and peel over the dough.
  5. Roll up lengthwise. Cut into pieces about 2-3cm wide.
  6. Place scrolls with a good separation (1-2cm) on a greased biscuit tray, or cake tins - any shape will do. At this point you have a few choices:
    1. cover lightly with a towel and leave to rise for about an hour, or until the scrolls are just about to touch, or
    2. cover with plastic and refrigerate up to two days for later baking, or
    3. keep longer if frozen (about a month, apparently) and thaw in the fridge overnight before baking.
  7. If you do refrigerate the scrolls then remove them from the fridge about 30 minutes before baking - while the oven is preheating.
  8. Heat oven to 190°C and bake for 10-15 minutes until brown around the edges.
So there we go - a much simpler enriched dough recipe and a better grater for the zesting resulting in a whole lot of yummy rolls!

Sunday, March 2, 2014

Cinnamon Swirl Loaf

I decided to make pies for dinner last night and while we were at the shop we saw raisin bread on sale - and obvious cue for me to make some myself at home. I ended up not having raisins in the pantry so I just adapted the cinnamon scroll recipe into loaf form (by not cutting it up) and it ... mostly worked. There's a few notes:
  1. the loaf was too large for my loaf tin - I need to lose at least ½ cup of flour, probably more
  2. I shouldn't have included the butter in the cinnamon sugar mix
  3. leaving the loaf in the fridge overnight to bake next morning worked well, though I wrapped it in cling wrap and the loaf burst out of that in a couple of places
  4. we accidentally used 3½ tablespoons of cinnamon instead of 2½ and that was too much - there's a kinda gritty feel to the swirl (perhaps some cinnamon could be mixed into the dough instead if extra is desired)
  5. I should have buttered the baking tin as the sugar in the dough stuck to the tin in places
Other than that, it's a pretty tasty loaf. The butter in the swirls makes the loaf pull apart too easily though, so I can't toast it and butter it, which means it's a little dry to eat.

I'll give the cinnamon loaf another try with the above in mind. Maybe next weekend :)

Also, the pies were quite tasty (lamb, rosemary and vegetable) but there wasn't nearly enough gravy - something to watch out for next time.

Sunday, February 16, 2014

Cinnamon Scrolls

There are (possibly quite literally) thousands of recipes out there, and a lot of them get overly complex or ... well, some of them get a little bizarre and almost mystical. These aren't magic, they're pretty easy to make and are just so delicious (even a friend who doesn't normally like cinnamon things loved these). So here's the straight-forward recipe from Best Recipes.

Ingredients
Dough
  • 3 teaspoons dry yeast 
  • 1 cup warm milk 
  • ½ cup sugar 
  • 115g melted butter 
  • 1 teaspoon salt 
  • 2 eggs 
  • 4 cups plain flour 
Filling
  • 1 cup brown sugar 
  • 2½ tablespoons cinnamon 
  • ⅓ cup softened butter or margarine 
Icing
  • 8 tablespoons softened butter or margarine 
  • 1½ cups icing sugar 
  • ½ cup cream cheese 
  • ½ teaspoon vanilla
Method
  1. Dough: Mix all ingredients until a stretchy, sticky, smooth ball forms. I used a mixer with a dough hook, since the dough is quite sticky. It would be possible to do by hand, but I wouldn't recommend it. If you do need to then you can coat your hands and the bench with a spray of oil to prevent the dough sticking too much.
  2. Leave in a warm place until doubled in size. Since this is an enriched (with milk, butter and egg) dough it can take quite a while to prove - even a couple of hours).
  3. Punch and roll into a rectangle (golden ratio, please) until approximately ½ cm thick
  4. Filling: Beat butter until creamy, add brown sugar and cinnamon and mix until smooth. Spread over the dough.
  5. Roll up lengthwise. Cut into pieces about 2-3cm wide.
  6. Place scrolls with a good separation (1-2cm) on a greased biscuit tray, or a cake tin(s) - any shape will do. At this point you have a few choices:
    1. cover lightly with a towel and leave to rise for about an hour, or until the scrolls are just about to touch, or
    2. cover with plastic and refrigerate up to two days for later baking, or
    3. keep longer if frozen (about a month, apparently) and thaw in the fridge overnight before baking.
    If you do refrigerate the scrolls then remove them from the fridge about 30 minutes before baking - while the oven is preheating.
  7. Heat oven to 190°C and bake for 10-15 minutes until brown around the edges.
  8. Icing: While scrolls are baking, beat the icing ingredients together and spread generously over each roll while still hot.
I apologise for the lack of photos! I'll have to make them again and force myself to not eat them all up before taking a photo :)

As I said, a lot of recipes get very complex requiring you to scald the milk, or dance counter-clockwise around your bench while it's mixing (sorry if you don't have an island kitchen bench!) but it's really not necessary. The above recipe makes deliciously light, fluffy and tasty scrolls without all that malarky.

The really nice part about this recipe is that you can chill portions and consume them over time. I made 15 scrolls and then some from the recipe; I made the dough and scrolls on Saturday evening and then Abbey and I had 4 smallish end bits (sans frosting) for breakfast on Sunday morning, 9 scrolls on Sunday afternoon with friends and the remaining 6 today for morning tea with co-workers. All baked withing minutes of consumption, which made them very yummy indeed :)

Wednesday, February 5, 2014

Guest post: Elena's Bread With Stuff

My friend Elena got a bread maker from her Dad for Xmas and the following is her recounting of the second loaf of bread that she's made with it.

The first one was just one of the packet mix from the supermarket, and while it was OK, I thought that next time it was absolutely necessary to put "stuff" with it. That next time has now arrived.

I used some random wholemeal prepackaged bread mix from the supermarket.

To this I added:

Fennel

I was wary of adding this at all because I ate one of the seed and it was like "BOOM! flavor essplodey bang!!". I put in a miniscule amount but should have put less. Honestly, even if you like the aniseedy flavour of fennel go lightly. I put about .. maybe 30 seeds, but seriously about 5 or 6 of those tiny seeds will add plenty of taste

Cumin

It's hard to lose here, depending on whether you like that Indian-curry flavour of the Cumin. I put in maybe 2 teaspoons. This was a good amount and the bread was nicely but not overly flavoured. I could have gone harder, but the flavour was still full.

Mustard Seeds

Some. About 1 teaspoon Can't remember having heard of them being in bread before. Couldn't discern them in baked bread at all. This is not over between me and mustard seeds.

Thyme

Some. About 1 teaspoon of dried Thyme. The aroma, but no the flavour of the thyme came through as it was baking and when it came out, but during the eating the thyme is barely perceptible, and insofar as it is perceptible it adds a lovely soft perfumey flavor.

Rolled Oats

Generous Handful. About half of a cup. Should have gone harder! I like oats but can not discern them in the finished bread at all!

LSA Mix

Some. About 3 generous tablespoons This stands for "Linseed, Sunflower, Almond" meal/mix. This may not be easy to come by (but is more and more so these days), but is basically hippy/old-people wholegrain additive. One time I gained a taste for it on porridge, as well as just liking it in theory, so have a packet of it around for this purpose that I have very little chance of getting through in a timely manner.

Extra water

The bread recipe suggests 450mL, I added about another splash 30-40mL when I dumped all the other stuff in. The sum total of water would have been less than half litre. It seemed wetter than it should be, but I stood by my decision.

I set it to the "wholemeal" setting (#5) on the bread machine and waited 3-odd hours.

The Results

The results were great!! Better than I expected.

The unexpected result was that the bread was springy. My first loaf was nice and bready and normal but definitely firm.

This loaf is distinctly more elastic.

Summary

Too Strong:

  • Fennel

Just Right:

  • Cumin
  • Extra water

Could have been Bit More:

  • Thyme (I'd have put Rosemary in if I'd had some!)

Couldn't even tell it was there:

  • Oats
  • LSA Mix
  • Mustard Seed

I made up mezzo platters with hommus, guacamole, tepanade, avocado, some leftover curry, pepperoni and a dash of balsamic and it (OMGZ!1) totally hit the warm Sunday arvo snack/deliciousness spot.

While not usually a big consumer of bread but seeing as yesterday I ran 10k and kited for an hour and a half (and will probably kite some more today!) I treated myself to a couple of hefty slices :)

The review from the peanut gallery was it was still quite "plain" and normal. I take this as a challenge and there will nearly certainly be adventurousness in the future. I am digging the spice and seed thing though have ambitious ideas regarding cheeses, vegetables and pickled foods, as my breadmaking confidence increases. I have bought a giant bag of flour in anticipation.

Thanks, Elena. I can't wait to see what other creations you devise!

Sunday, February 2, 2014

Basic White Bread

The following is the recipe I use on a weekly basis to make the loaf of bread for the week. Sometimes I substitute one or two cups of the flour with wholemeal flour. It usually comes out nice and soft, and always yummy.

Ingredients3⅓ cups flour
2 tsp yeast
2 tsp bread improver (a soy flour blend)
10g salt
2 tbps olive oil
1½ cups water

Mix the dry ingredients together in the bowl.

Make a well and pour in the oil and water.

Mix with fingertips until combined.

Take combined dough out and start kneading on a bench
(it will be sticky to start off with but should get less sticky as it
combines properly - if it does not just add some more flour).

If your hands look like this then it's probably too sticky
(unless you're making a sticky dough like foccacia or brioche).
Keep kneading until the dough is nice and stretchy.
Pour some oil into the mixing bowl.
Form the dough into a ball
(grab the underneath and pull it over the top while turning).

Use the ball to spread the oil around the bowl and
then flip it over into the bowl so the oily side is up.
Leave to rest in a warm place until it doubles in size
(about an hour).

Poof! Now punch it gently to knock the air out of it.
Grab two sides to make a log and...
... place in the tin, squishing it down flat.
Leave to rise in the tin (about 45 minutes).
Preheat your oven to 200ºC about 30 minutes in.
Don't let it rise above the top of the tin unless you
want a very tall loaf.
If it does rise too far just slash it across the top diagonally
(very quickly with a very sharp knife).
Bake for 50 minutes at 200ºC until good and brown.
The bottom of the loaf should sound hollow (and not too dull) when tapped.
(the light makes it look lighter than it was, especially the next shot)
The finished loaf!
Cool on a wire rack.
I store my loaves at room temperature in a plastic container.

Sunday, January 12, 2014

Orange and White Chocolate Buns

Welcome to the new year, the Year of Bread!

I should point out that I've been baking bread (for sandwiches) pretty routinely for a couple of years now. I started thanks to the Great British Bake-Off season 1 which I saw some time after it actually aired (since I don't live in the UK). I've played around with a few sweet breads and not much else. I'm going to take the inspiration from last year to try out a bunch of new things this year in bread land.

Not overly pretty but I'll be working on that!
The first recipe for this year is from the Bake Off, season 4, by Ruby Tandoh, adapted from her recipe posted on the BBC website. The main deviation from her recipe is adapting it to 12 buns instead of one ornate loaf. Other changes are noted in the method.

Ingredients
  • 350ml milk
  • 60g caster sugar
  • 2 tsp instant yeast
  • 2 tsp salt
  • 700g plain flour
  • ¾ tsp ground cardamom
  • 1 large egg
  • 85g unsalted butter, softened
  • 3 oranges, zest only
  • 200g white chocolate chips
  • 100g candied mixed peel
Method
  1. Bring the milk to the boil in a saucepan and then remove from the heat and leave to cool. Top up with water to make 400ml total of liquid – the mixture should be lukewarm.
  2. Add the sugar, yeast, salt, flour and ground cardamom to a large bowl and mix.
  3. The dough will be very sticky - have a plastic bowl/bench scraper handy. Mix in the lukewarm milk and water mixture, egg, softened butter and orange zest. Combine using your hands. Ruby's instructions had only ¾ of the liquid added initially, then more added afterwards as needed. I found the dough needed all the liquid and also adding it afterwards was quite difficult and annoying. Next time I'll just add it all in one go.
  4. Knead the dough until it's smooth, elastic and no longer sticky (yes, it should stop being really sticky after a couple of minutes). Knead in half of the chocolate chips and half of the candied peel. Shape into a ball, place in a large oiled bowl, cover and leave for 1-1½ hours, or until doubled in size.
  5. Knock the air out of the dough. At this point Ruby gets very fancy with her peacock loaf - check the original recipe if you'd like to do that. For 12 buns split the dough into 12 even portions. Form each one into a little ball. Squish each ball flat, add a bunch of the remaining chocolate and peel on top and push it in a little. Roll the dough over to seal it and then roll out until it's about 15-20cm long. Loop the dough around one end in a spiral fashion and tuck the loose end under the middle. Place onto a baking tray lined with baking paper.
  6. Cover the buns with a dry towel and let rise for 45 minutes. Preheat the oven to 190ºC before the rising is complete.
  7. Brush with an egg or milk wash if you like - the sugar in the dough will cause the buns to brown up nicely regardless. I used an egg white wash but I think I'll skip it next time.
  8. Bake for 20 minutes.
These are very, very yummy. Not too sweet and just the right amount of flavour.